Are you looking for a reliable PDF reader that allows you to add comments, highlight important information, and underline text in your digital document? If so, the Foxit Reader is the right tool for you. The Foxit PDF reader offers a robust set of powerful tools that are designed to make working with PDFs straightforward and efficient.
Whether you are a student, a business professional, or anyone who has to deal with digital documents regularly, annotating documents is an essential tool to add comments and feedback directly to your PDFs.
Moreover, with Foxit’s user-friendly platform and other powerful features, you can improve your workflow and enhance productivity. In this guide, we will walk you through the essential steps of annotating your digital documents using the Foxit PDF reader.
- 100% secure
- 100% secure
- 100% secure
Part 1. Foxit PDF Annotation
Annotating documents with Foxit PDF reader has never been easier. Follow these steps to mark up your documents, underline text, add comments, and give feedback with precision and ease.
Step 1: Visit the Foxit Website
First, you need to visit the Foxit website to download the application to your laptop.
To do this, open your browser and type in Foxit or click on www.foxit.com to visit the website.
This will lead you directly to the website homepage, where you have all the options and menus, including Foxit PDF annotation and viewing.

Once you are on the website, you will see the “Product” option with the arrow down button on the top left corner of the screen right next to the Foxit logo.
Step 2: Click on Foxit PDF Reader
After clicking on “Products,” a drop-down menu with different options will appear on the screen.
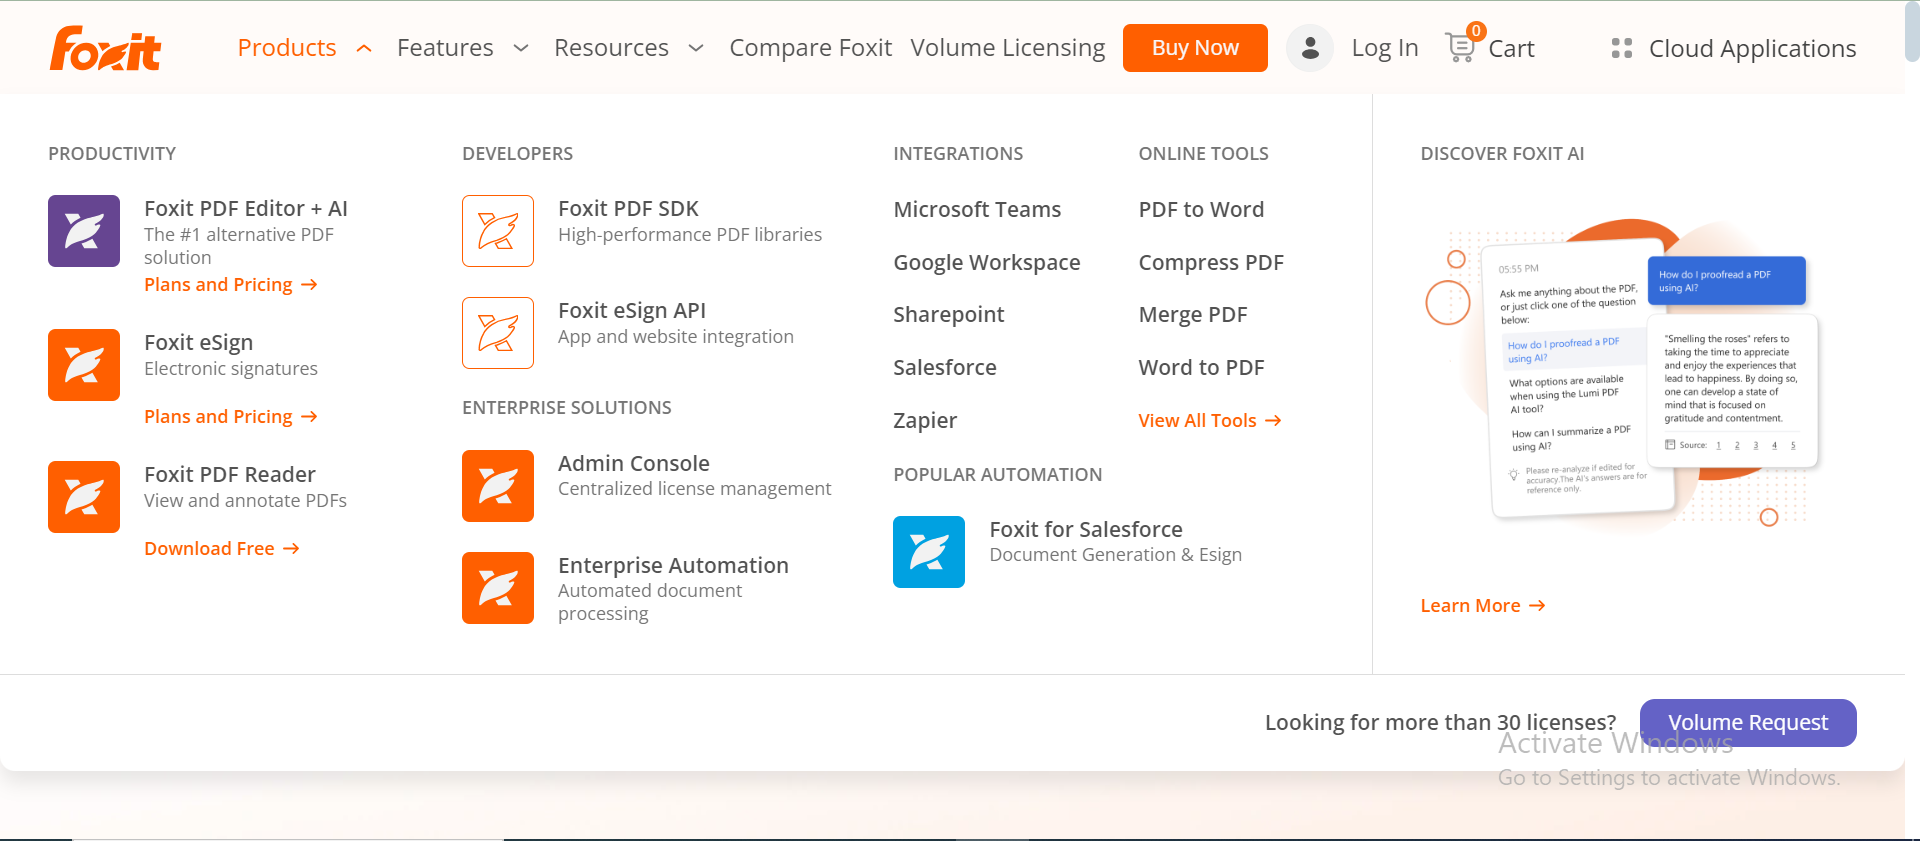
Right under the Productivity option, you will need to click on the fourth option, which is “Foxit PDF Reader.” This will lead you to the next page, where you will be able to download the application on your device for free.
Step 3: Download the Foxit Application on your Device
After clicking on the “Download Free” Option, you will land on the next page. Here, you will be given the option to select if you want to download Foxit PDF Reader on your Windows or Mac.
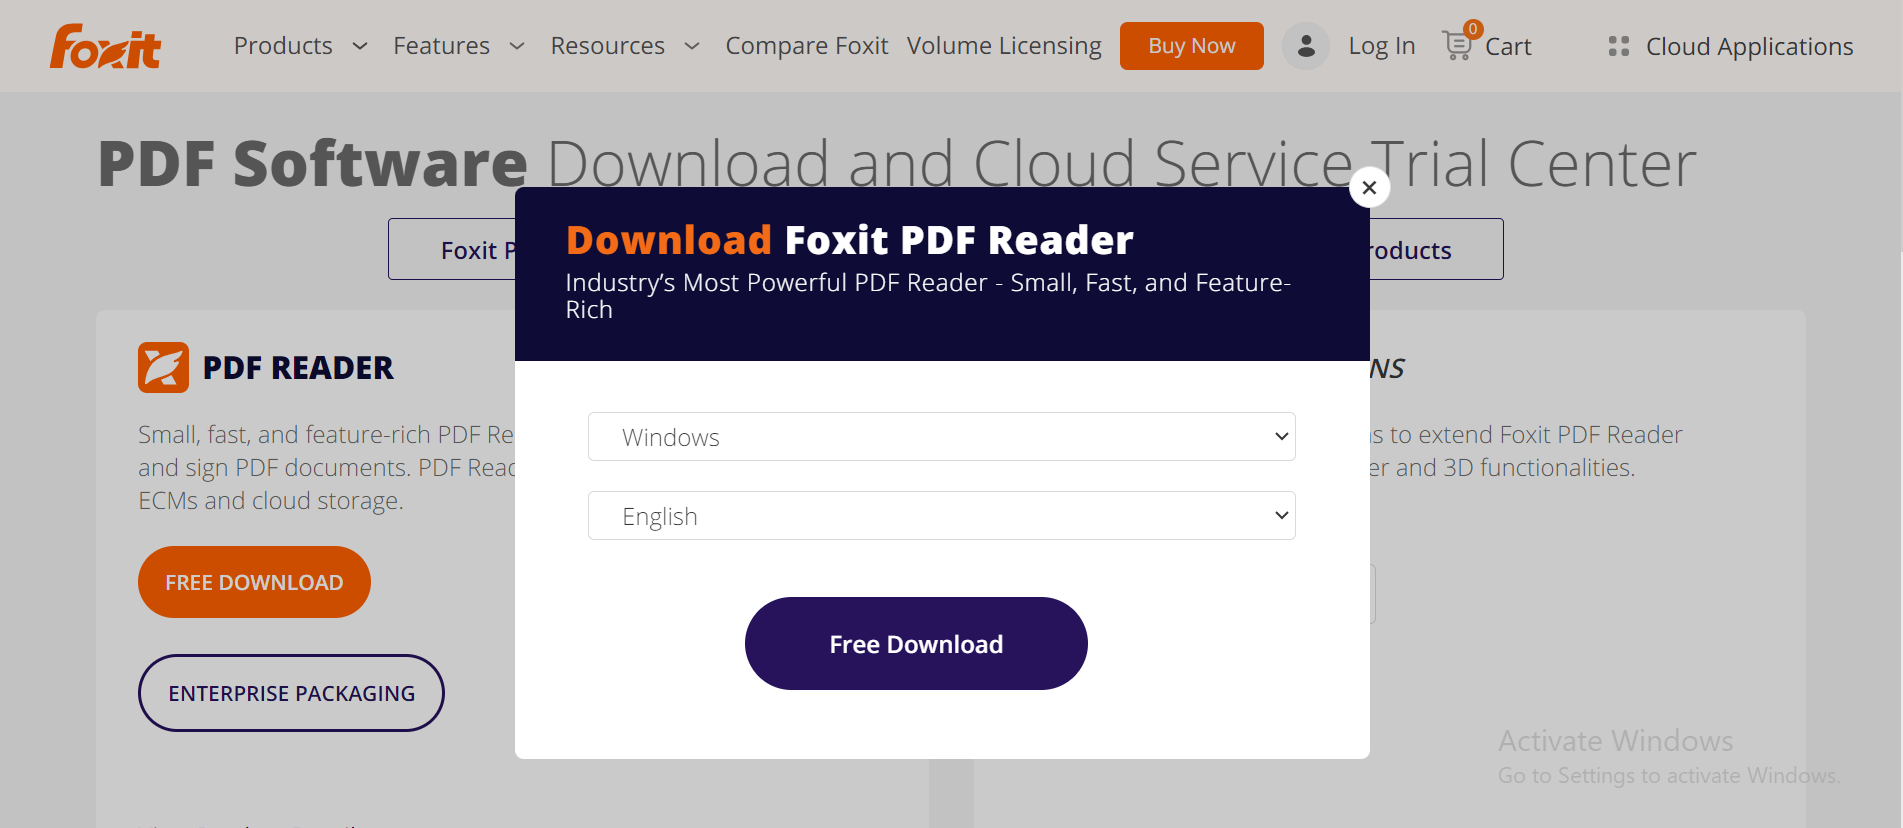
You will also be able to select the language in which you need to download the application. Once you have selected the options, click on the “Free Download button.”
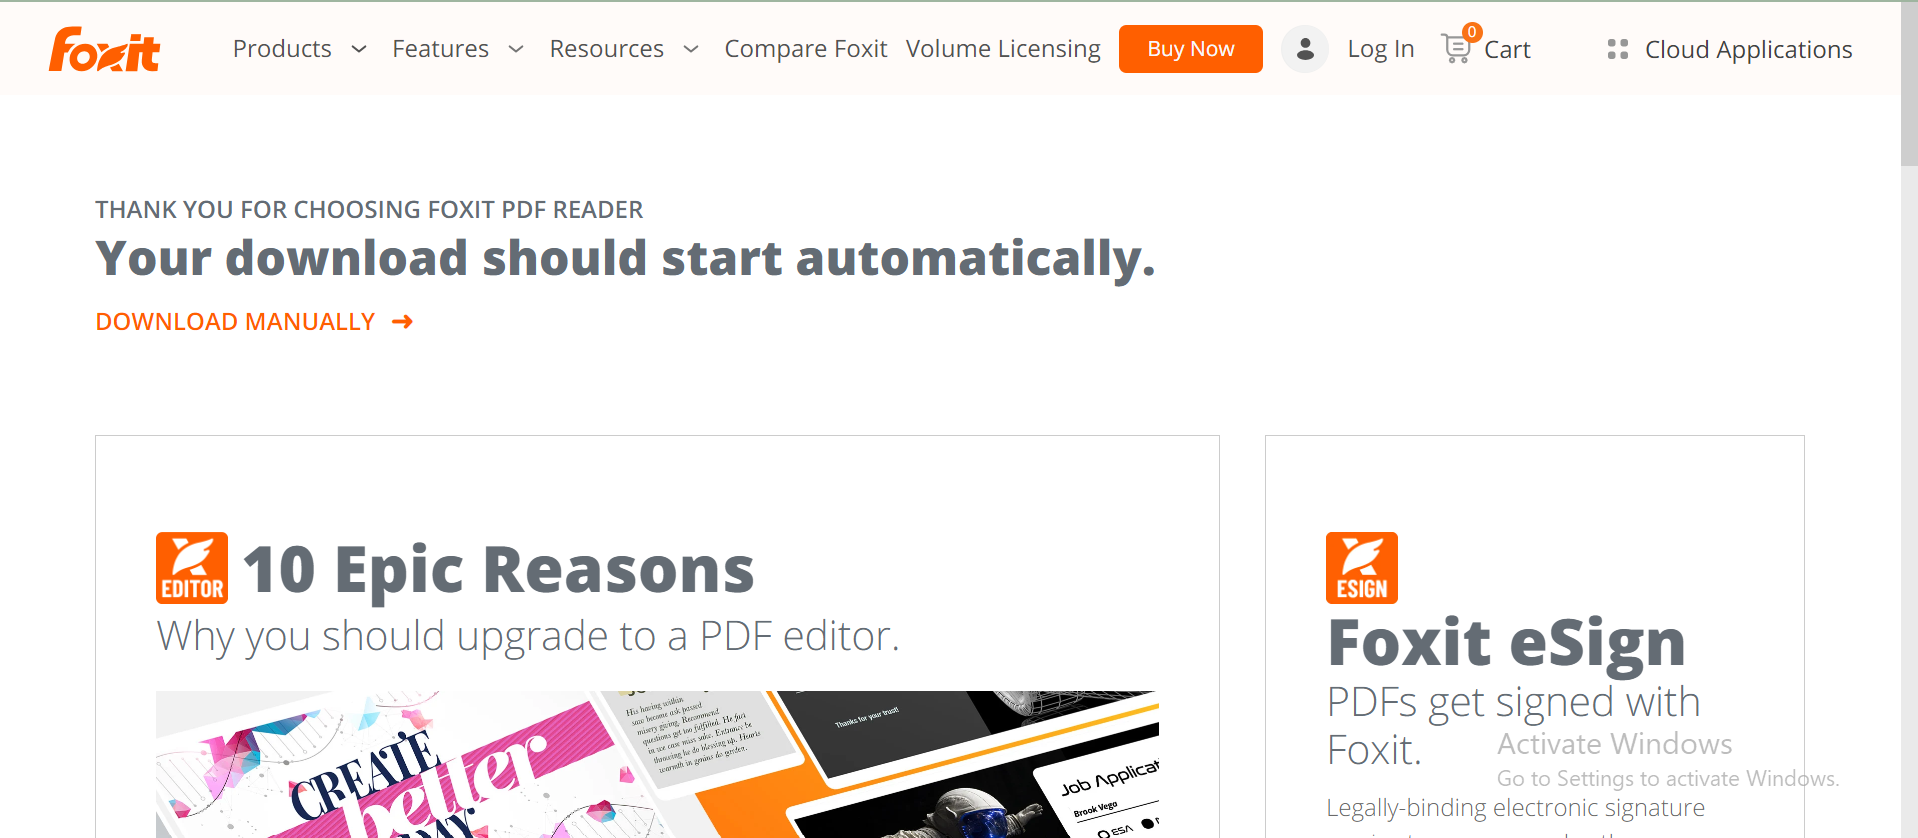
After clicking on this option, your application should be able to download automatically to your device.
Step 4: Install and Launch the Foxit Application on your Device
To install the Foxit PDF Reader application on your device, navigate to the “Downloads” folder and locate the downloaded file with the .exe extension.
Click on the file and follow the instructions to install it on your device.
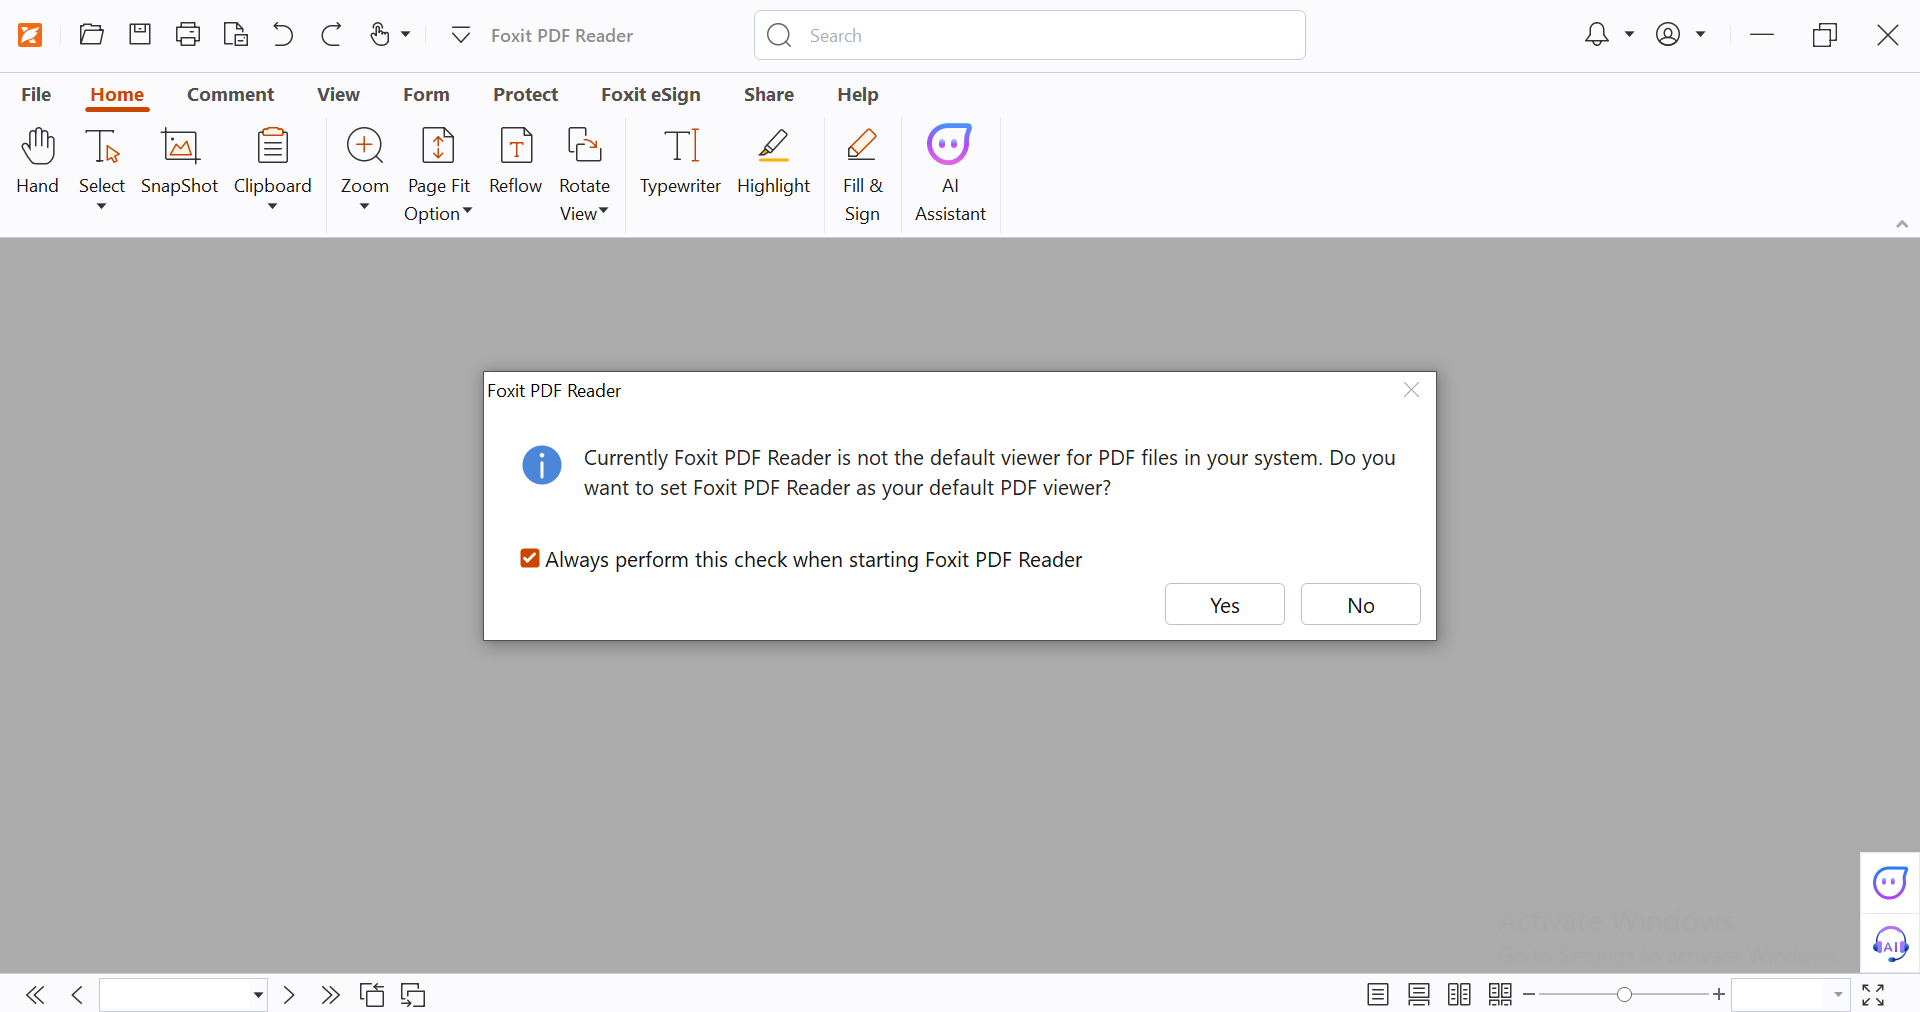
Once the application is installed, you will be able to launch it and start using it to manage your PDFs.
You can either set the Foxit reader as a default viewer of PDF files in your system by clicking “Yes” or you can simply click on “No” to skip it for now.
Step 5: Open the PDF
After you launch the application, the home screen will appear in front of you, where you have all the options you need to manage your documents.
To do so, select and open the desired document you want to work with.
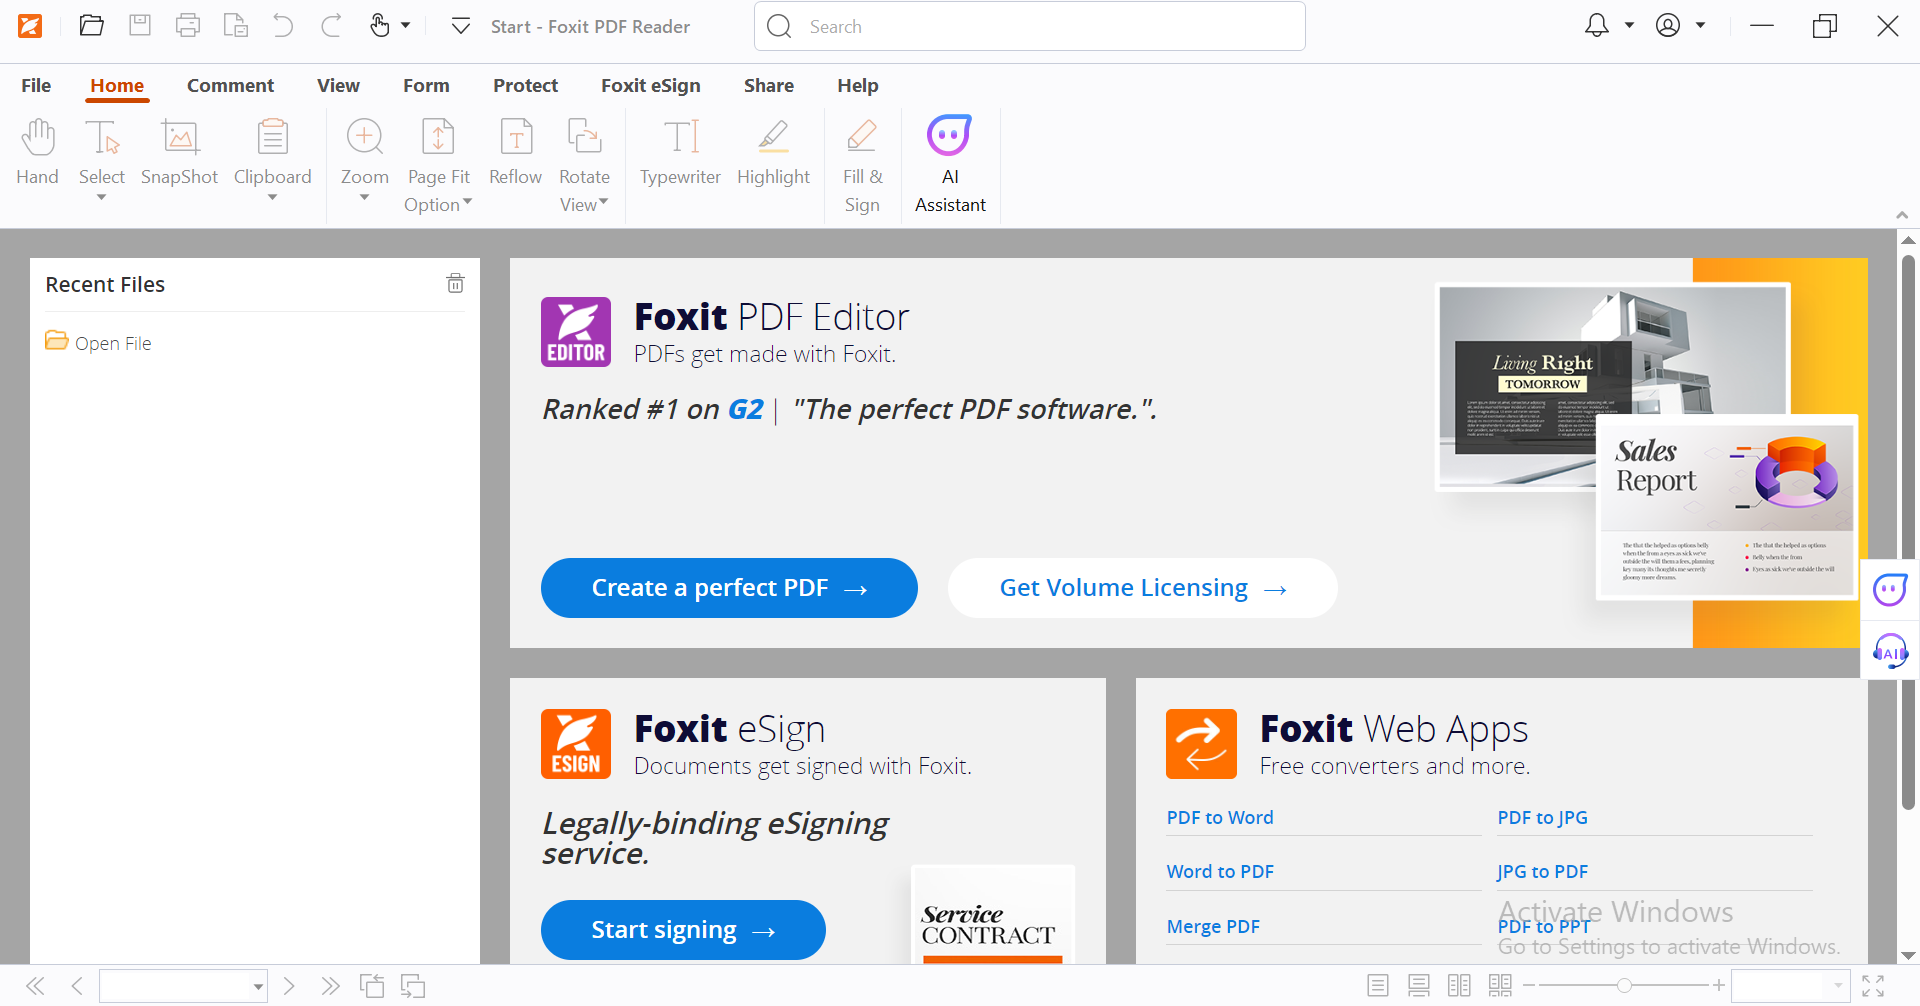
To open the document, navigate to the top left corner of the screen and click on the “Open File” menu to get access to all the files and documents from your system.
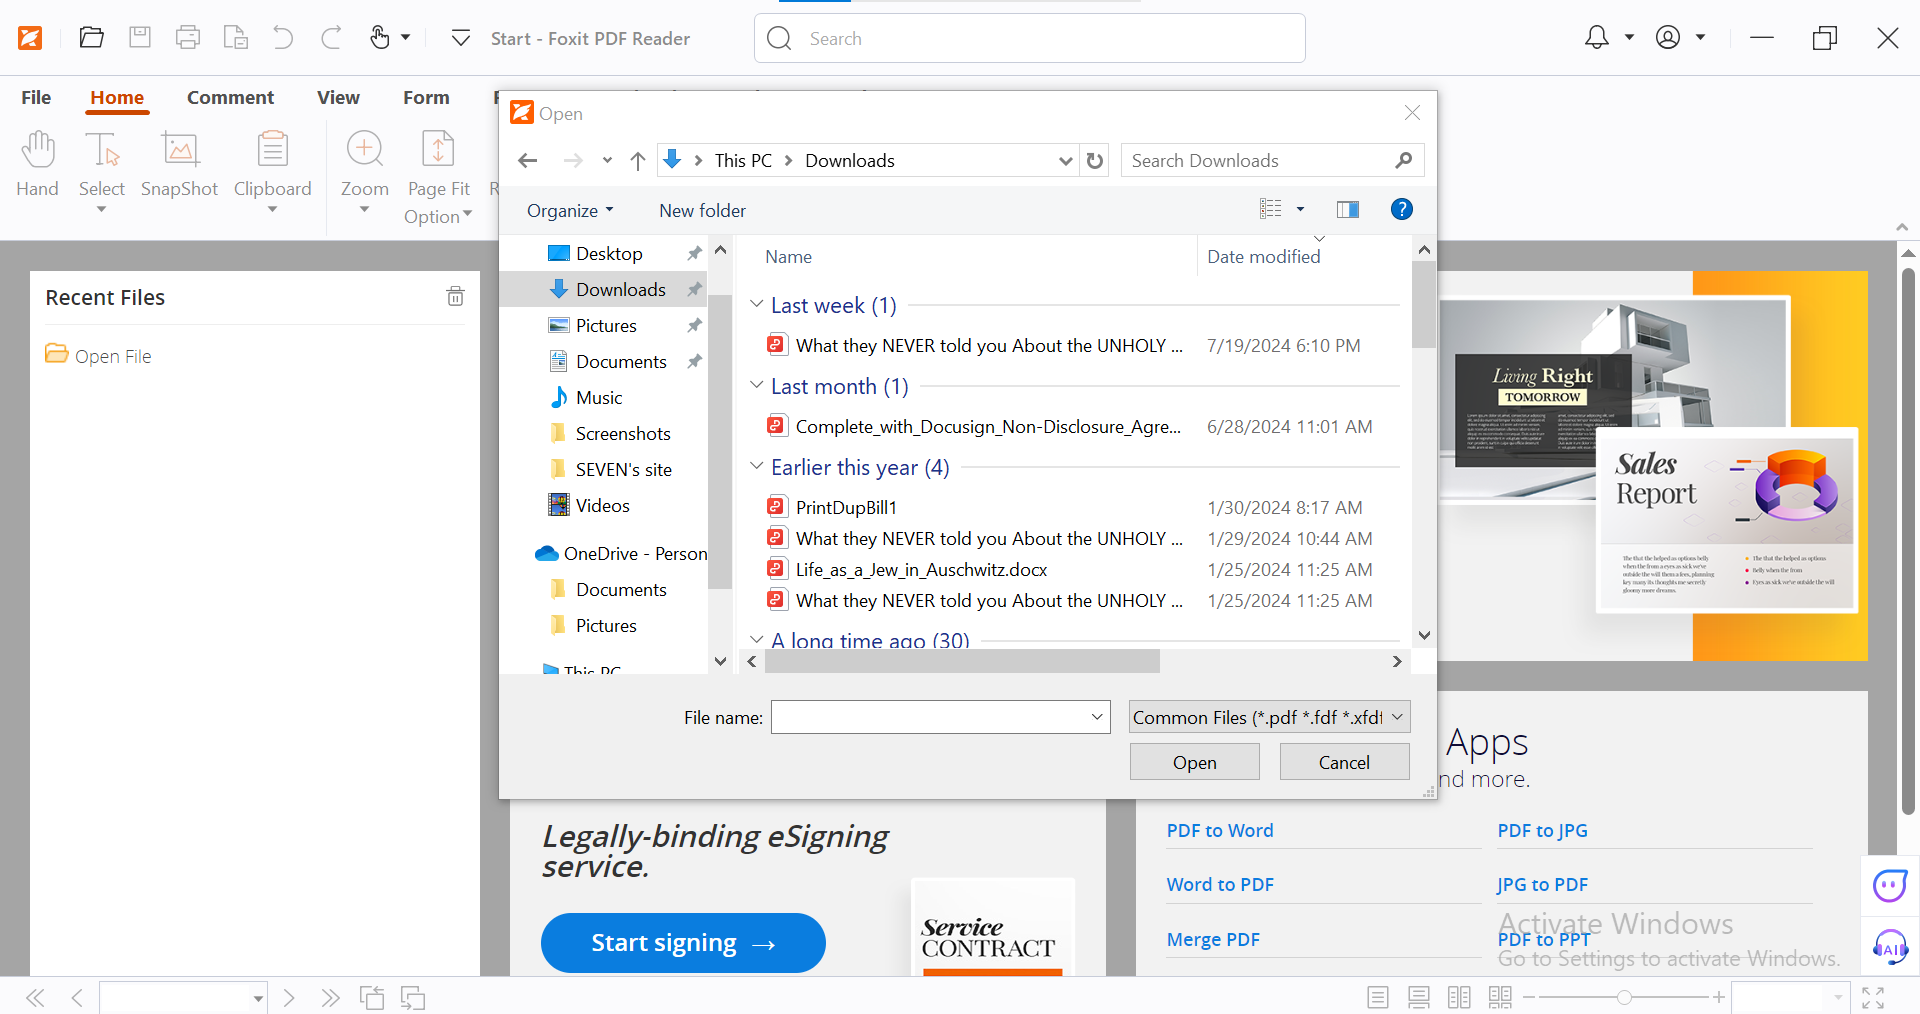
Select the desired file and open it in the Foxit PDF reader to annotate it.
Step 6: Select the Comment Tab
Now that the file is opened navigate to the top left of the screen and select the “Comment” tab from the top menu to reveal the annotation tools.
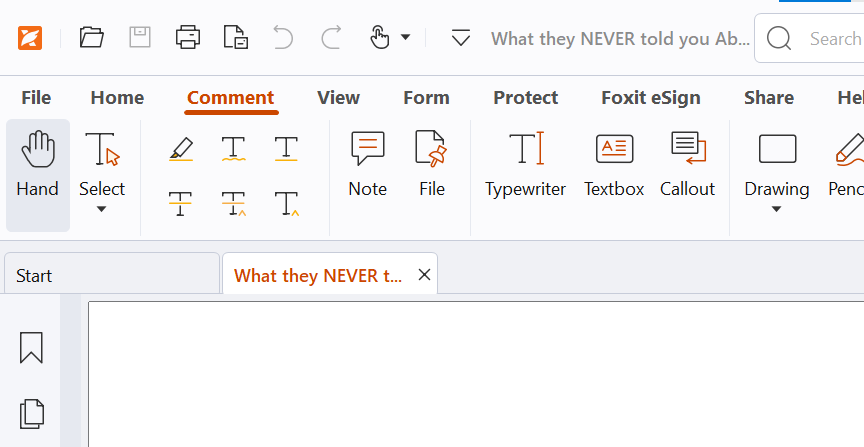
Step 7: Choose an Annotation Tool
Now, you have quite a few annotation tools to choose from. From these tools, select the type of annotation you want to use.
It could be strikeout text, highlight text, replace text, underline, note, or any shapes you wish to use.
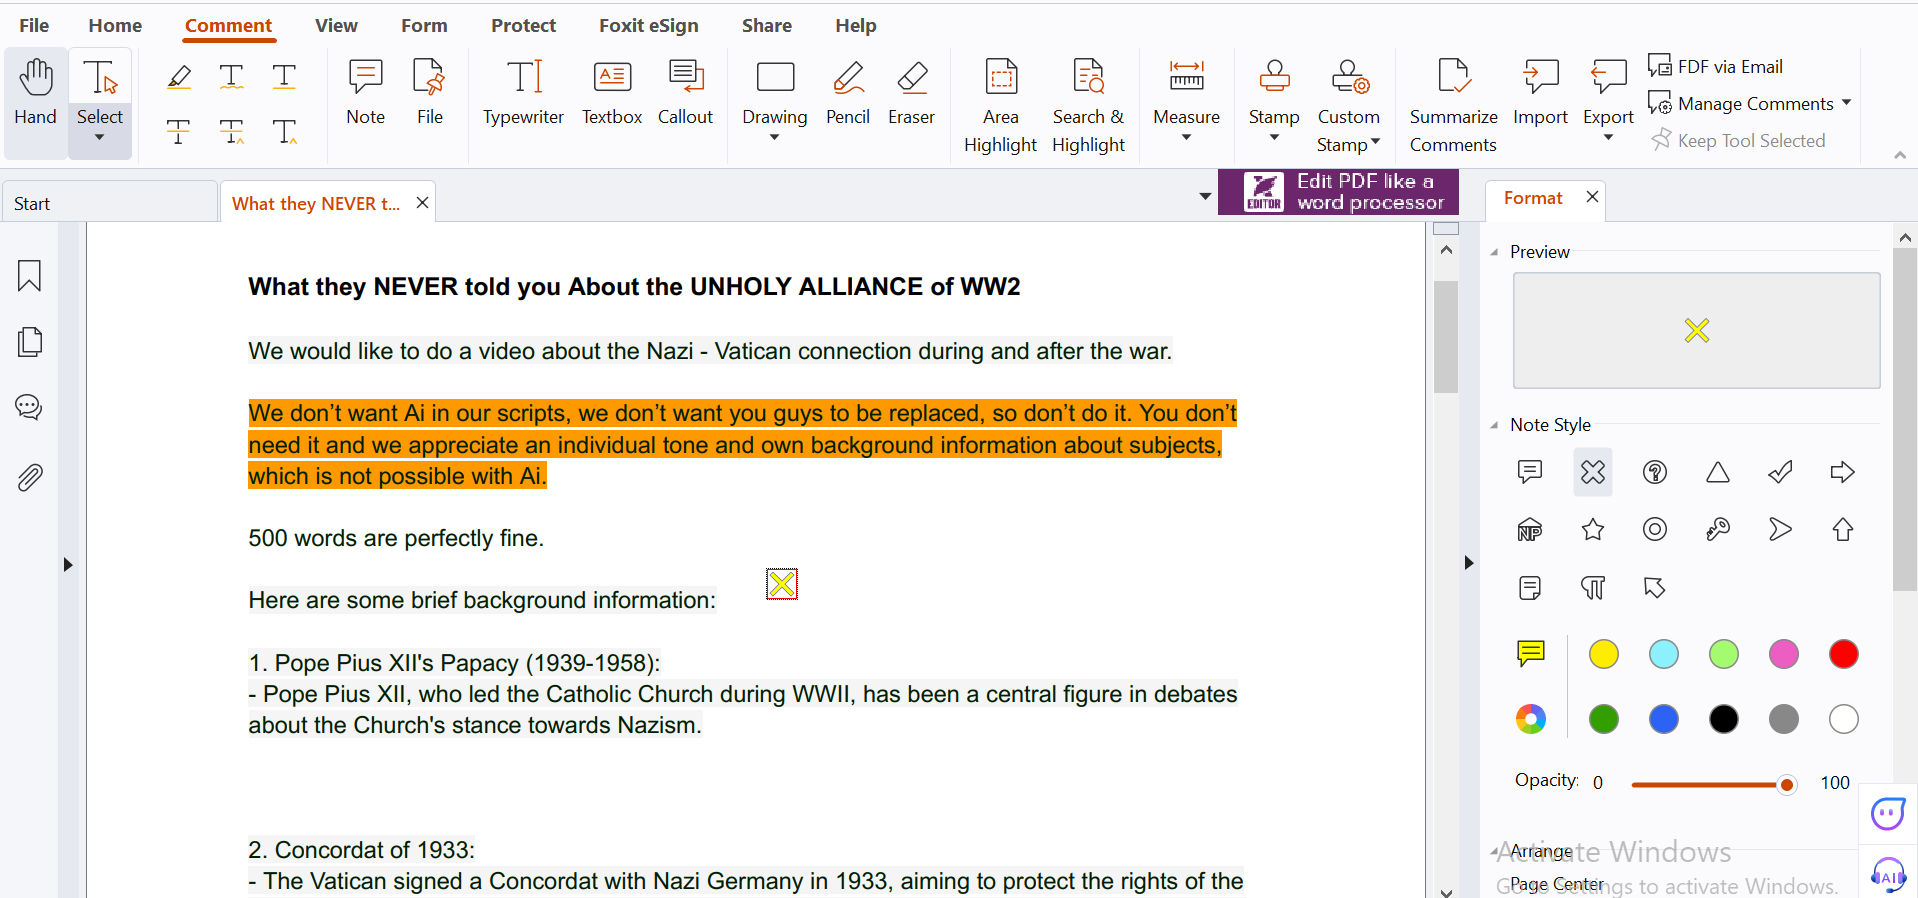
Step 8: Apply Annotations
Once you have selected the annotation tool, click on the area of the PDF where you want to apply the annotation.
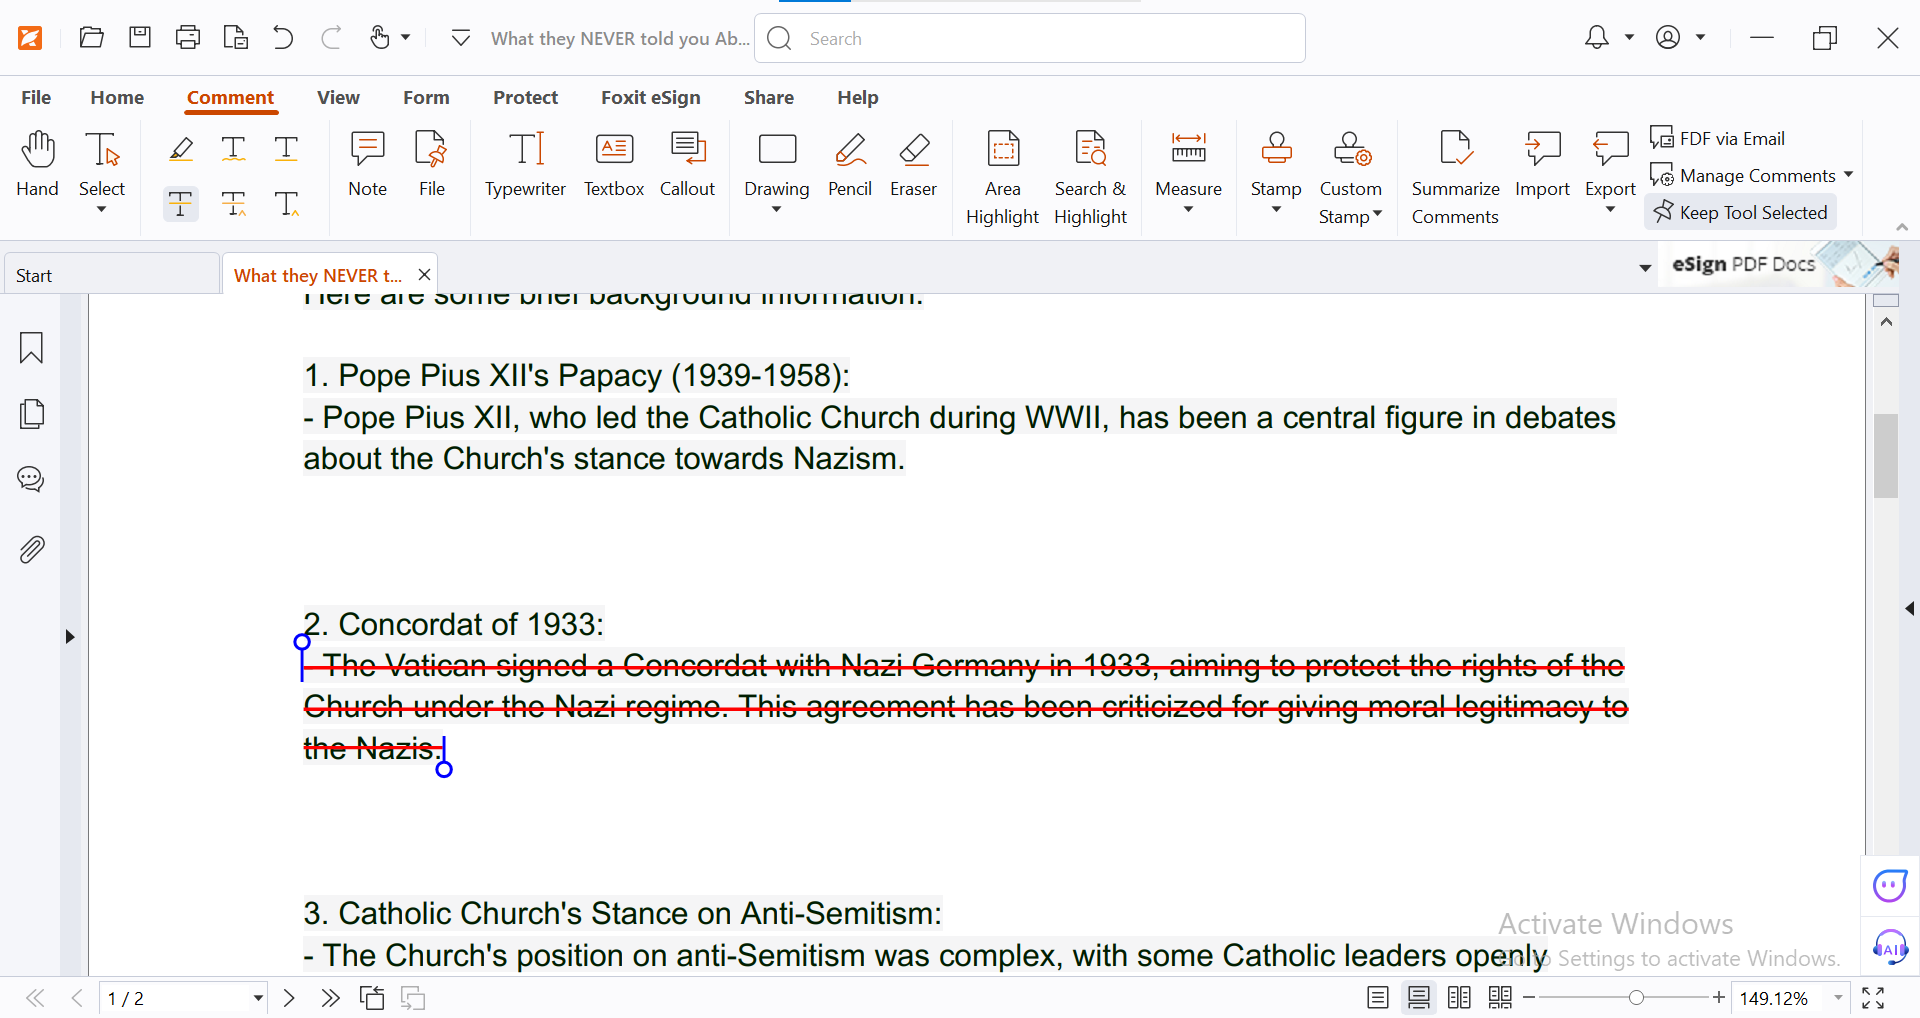
Foxit PDF annotation allows you to customize the annotation settings according to your requirements. Whether you want to customize the color or size, you can adjust the annotation settings accordingly.
Step 9: Save the Changes
After annotation, save the updated documents to make sure all the changes you made are preserved.
To do so, navigate to the top left corner of the screen and click on “File” from the top menu.
After you click on the “File,” you can select “Save” or “Save as” to finally save the document to your computer.
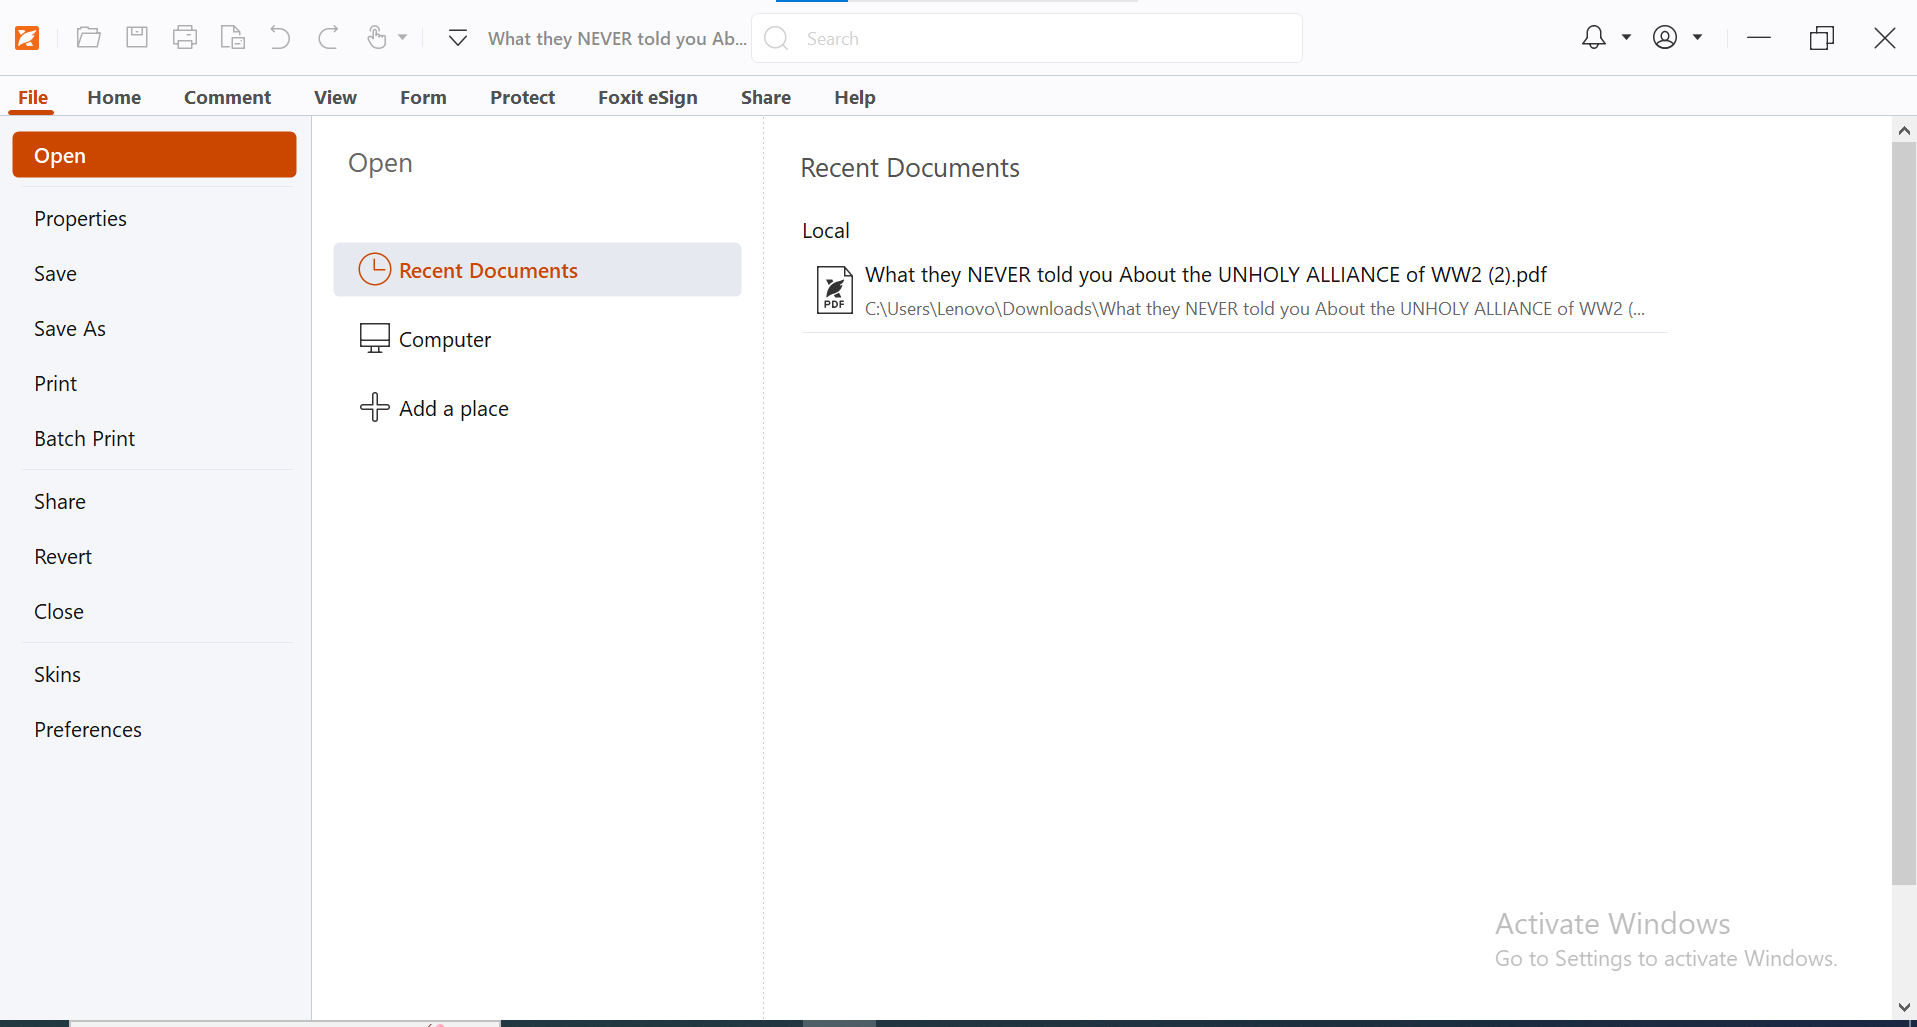
Wasn't that easy? Follow these steps to annotate your documents effectively and enhance your productivity with the Foxit PDF reader.
Part 2. Why Choose Foxit PDF Reader?
Here are a few reasons why Foxit PDF reader is one of the most powerful PDF editors and why you should choose this tool:
- Foxit PDF Reader offers cost-effective PDF solutions without compromising on quality and efficiency.
- The user-friendly interface of the platform allows users to view, edit, and manage their documents without requiring any technical knowledge or training on how to use the tool.
- Foxit PDF Reader also offers seamless integration with Microsoft Office and other cloud services, ensuring compatibility.
- In additon to viewing and editing, Foxit boasts rich features that allow you to add images and convert to and from PDFs, along with other comprehensive tools that make managing documents efficient.
- Foxit also promises robust security measures, ensuring your important files and documents are safe from unauthorized access and threats.
Part 3. To Summarize
Foxit PDF Reader is a go-to PDF tool for students, business professionals, and teachers. The robust suite of tools and versatile features allow you to edit, view, convert, create, and annotate your PDFs with ease and efficiency. Follow the above steps to annotate your documents efficiently and ensure enhanced workflow.
- 100% secure
- 100% secure
- 100% secure


