Upgrading your Mac to macOS Big Sur 11 is an exciting way to unlock the latest features and performance enhancements. With Big Sur, you’ll get a redesigned interface, upgrades to core apps like Safari and Maps, and optimizations for Apple silicon chips. Staying current with macOS upgrades ensures you have the most secure, stable, and capable Mac experience.
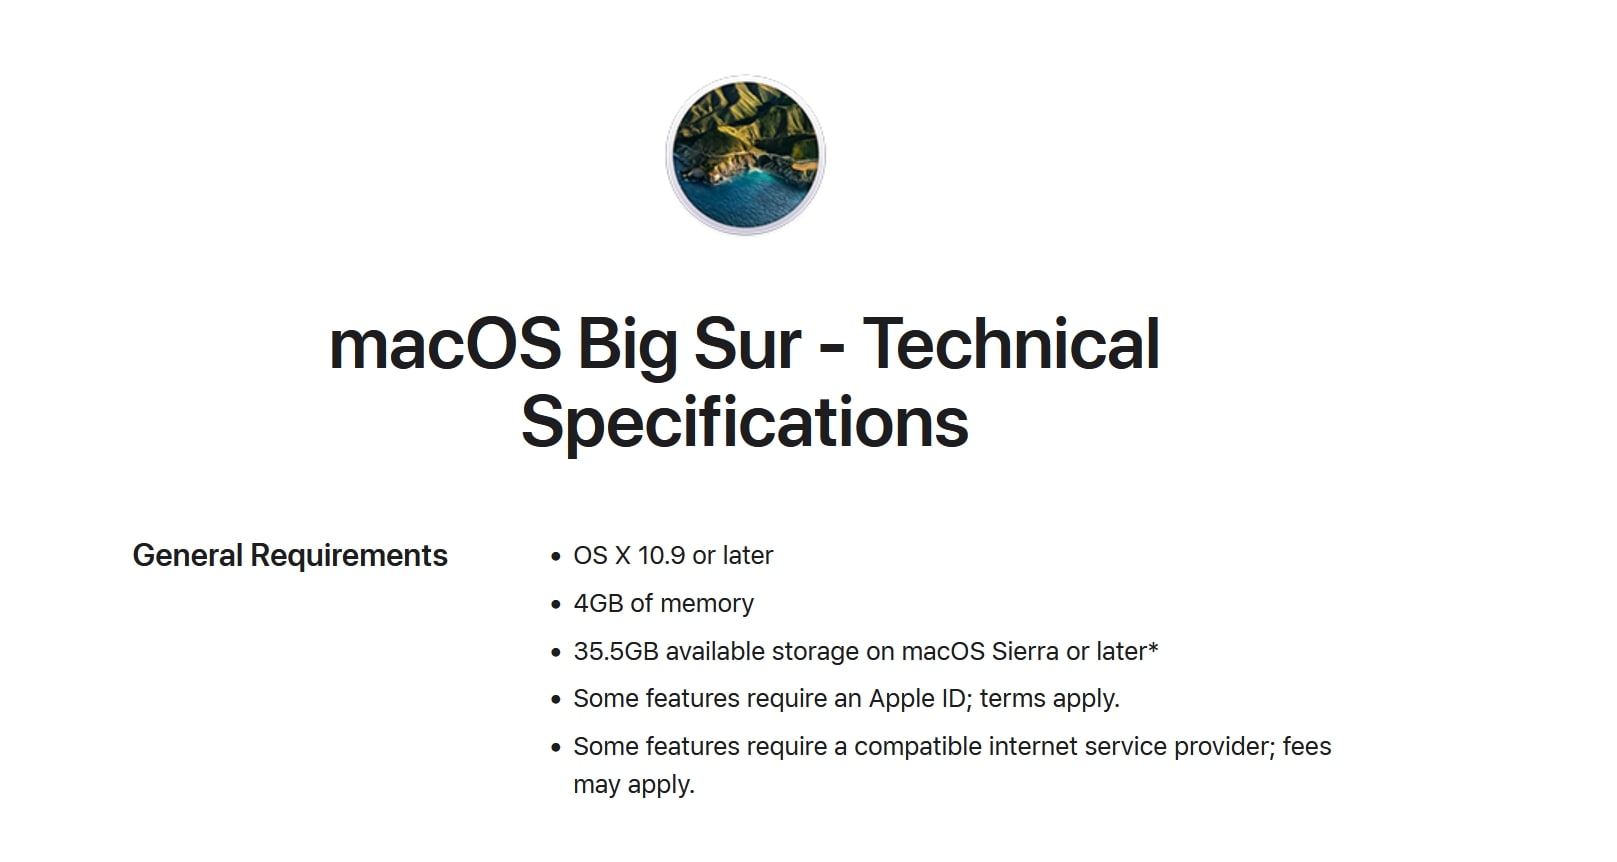
Before installing, check Big Sur’s system requirements as some older Macs are unsupported. You’ll need a MacBook from 2015 onward, MacBook Air/Pro from 2013 onward, iMac from 2014 onward, iMac Pro, Mac Mini from 2014 onward, or Mac Pro from 2013 onward. Have at least 35GB of storage spare too.
Let me guide you through downloading Big Sur from the App Store, creating a bootable USB installer, and clean installing for optimized performance.
- 100% secure
- 100% secure
- 100% secure
Part 1. What is macOS Big Sur 11?
With the macOS Big Sur upgrade, Apple has engineered a remarkable transformation to the Mac user experience. Let’s explore the visual redesigns, performance enhancements, and exciting new capabilities.
Streamlined Interface
macOS Big Sur delivers a fresh spacious interface to make navigation easier. From the refined window corner curvature to the color palette, the thoughtful design benefits everyone. Dock icons retain personality while gaining cross-ecosystem consistency. The app designs keep you focused on content without visual clutter.
Control Center and Notifications
The all-new Control Center grants quick access to settings like Do Not Disturb right from the menu bar. The updated Notification Center has interactive alerts and redesigned widgets for data at a glance.
Safari: Faster and More Private
This landmark Safari update accelerates performance while maintaining exceptional battery life. Safari now stops advertisers from profiling you with Privacy Report snapshots. Password monitoring also keeps you safer online.
Messages and Maps
Messages enables you to pin favorite chats and search histories quickly. New Memoji and messaging effects add personality, while group messaging is streamlined. Maps has immersive Look Around views, cycling directions, and curated Guides.
Optimized Architecture
Core technologies in Big Sur unlock the power of Apple’s revolutionary M1 chips for Macs. From the compiler to the kernel, everything is optimized for Apple silicon.
With its incredible interface renewal, optimizations for M1, and privacy enhancements, macOS Big Sur propels the Mac experience into an exciting new era. This upgrade will make your Mac feel new again.
- 100% secure
- 100% secure
- 100% secure
Part 2. Install Requirements for macOS Big Sur 11
Before installing the macOS Big Sur upgrade, it’s crucial to ensure your Mac model and system specifications meet the minimum criteria. Attempting to run Big Sur on an unsupported Mac will likely result in a poor and unstable experience. So let’s recap which Macs can run Big Sur and the hardware specs needed.

Supported Mac Models
Apple has specific requirements regarding Mac models capable of installing and running Big Sur smoothly. Generally speaking, you’ll need a Mac from 2013 onward. The full list of compatible models includes:
- MacBook:2015 and later
- MacBook Air:2013 and later
- MacBook Pro:2013 and later
- Mac mini:2014 and later
- iMac:2014 and later
- iMac Pro:2017 and later
- Mac Pro:2013 and later
As you can see, Apple typically supports Macs going back 6-7 years with each macOS release. Older models lack the power and compatibility for the latest features. Upgrading unsupported Macs involves workarounds and risks instability.
Minimum System Specifications
Beyond the Mac model requirements, your device will need sufficient storage space, RAM, and an adequately powerful processor. Here are the key system specifications for a smooth Big Sur experience:
- Storage Space:You’ll need at least 20GB of available storage space for the Big Sur installation and associated files. The total download size is around 12GB.
- RAM:Apple recommends at least 4GB RAM for Big Sur, but 8GB or 16GB is ideal for optimal performance. More memory enables quick app launching and ample multitasking capabilities.
- Processor:A fairly recent processor is recommended too. Multi-core Intel Core i5 or i7 chips from the last several years provide plenty of power for Big Sur and its optimizations. M1-equipped Macs have the best performance.
Meeting the minimum specifications is important. But exceeding them with ample storage, memory, and processing muscle will empower you to utilize Big Sur’s full potential. Check your Mac’s tech specs in the Apple menu > About This Mac if unsure.
Upgrading components like the RAM or SSD is possible on various Macs to give Big Sur the resources it thrives on. Overall, ensure your Mac isn’t too outdated and has at least the recommended specs for the best experience.
- 100% secure
- 100% secure
- 100% secure
Part 3. How to Download macOS 11.0: Your Step-by-Step Guide
With your compatible Mac model and sufficient system specifications ready, it’s time to download the macOS Big Sur installer. Our step-by-step guide makes this process easy and smooth. We’ll cover downloading directly from the App Store, creating a bootable installer, and best practices.
Download from the App Store
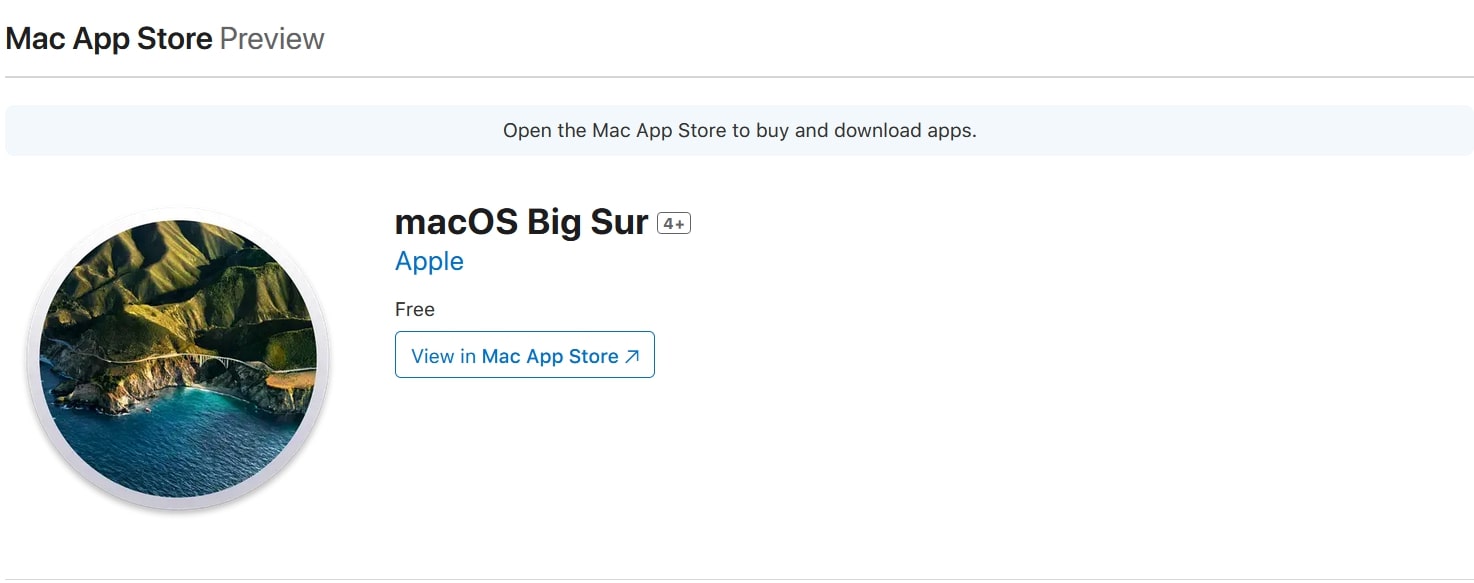
The most straightforward approach is downloading the Big Sur installer directly from the Mac App Store application. Here’s how:

- Click the result for “macOS Big Sur” and then the blue “Get” button on the right. This downloads the installer.
- Once downloaded, the installer will launch automatically. Follow the prompts to begin the upgrade process.
- You can also find the Big Sur installer in your Applications folder later if you wish to postpone installation for now.
Downloading Big Sur via the App Store is free, easy, and ensures you get the latest version. Updates to Big Sur will be handled through the App Store too. The only catch is that it requires a large 12GB+ download.
Create a Bootable USB Installer
For those with limited bandwidth or multiple Macs to upgrade, creating a bootable macOS Big Sur USB installer is ideal. Here’s how to make one:
- You’ll need a USB flash drive with at least 16GB of spare space. Back up any data on it first.
- On your Mac, find and download the “macOS Big Sur” installer from the App Store. Don’t launch it yet.
- Insert your prepared USB drive into your Mac.
- Launch Disk Utility and erase your flash drive, ensuring it’s formatted as Mac OS Extended (Journaled).
- Quit Disk Utility once complete.
- Next, open Terminal (in Utilities) and carefully enter this command:
sudo /Applications/Install\ macOS\ Big\ Sur.app/Contents/Resources/createinstallmedia --volume /Volumes/MyVolume
- This will start the bootable installer creation process on your drive. Follow the prompts.
- After completion, you’ll have a handy portable Big Sur installer ready for use on multiple Macs!
Best Practices for Smooth Installation
Follow these best practices to ensure the Big Sur installation completes smoothly:
- Close all open apps and documents before installing. Also log out of iCloud and messaging services.
- Ensure your Mac is plugged into AC power throughout the process. Don’t rely on battery.
- Connect your Mac to a fast wired internet connection for large downloads.
- Disable security tools like firewalls and anti-virus software temporarily.
- Don’t use your Mac for anything else during the 1-2 hour installation. Be patient.
- Perform a full Time Machine backup beforehand for added safety.
Adhering to these best practices will help the macOS Big Sur upgrade complete successfully. Enjoy your refreshed Mac!
- 100% secure
- 100% secure
- 100% secure
Part 4. How to Update Your Mac to Big Sur: Simple Steps
Once you’ve downloaded the macOS Big Sur installer, it’s time to kick off the upgrade process. Here are simple steps for updating your compatible Mac:
- First, close any open apps and documents. Also log out of iCloud, email, and messaging services.
- Connect your Mac to a power source. Don’t attempt installation on battery alone.
- Next, double click the “macOS Big Sur” installer in your Applications folder to launch it.
- The installer will guide you through some verification checks before beginning the upgrade.
- Carefully read and agree to the licensing terms when prompted.
- Finally, click Install/Upgrade when ready. Your Mac may restart and show progress bars during the 1-2 hour process.
- When complete, macOS Big Sur will be running on your Mac! Follow any onscreen instructions to complete setup.
Here are some tips in case you encounter installation issues:
- If your Mac is unresponsive, force restart by long-pressing the power button. Try the update again.
- For storage-related errors, free up disk space and retry the install.
- If the process seems stuck, be patient. Some steps can take 15-30 minutes.
- Review console logs for clues on any crashes or underlying problems.
With this guide, updating your eligible Mac to macOS Big Sur will be smooth sailing. Enjoy your refreshed operating system!
- 100% secure
- 100% secure
- 100% secure
Part 5. Updating Unsupported Macs to macOS 11
If your Mac is too old to support Big Sur directly, a simple solution is using a virtual machine running macOS Catalina. This lets you experience Big Sur virtually on unsupported hardware. We’ll explain what a virtual machine is, how to set one up, and the pros and cons of this approach.
What is a Virtual Machine?
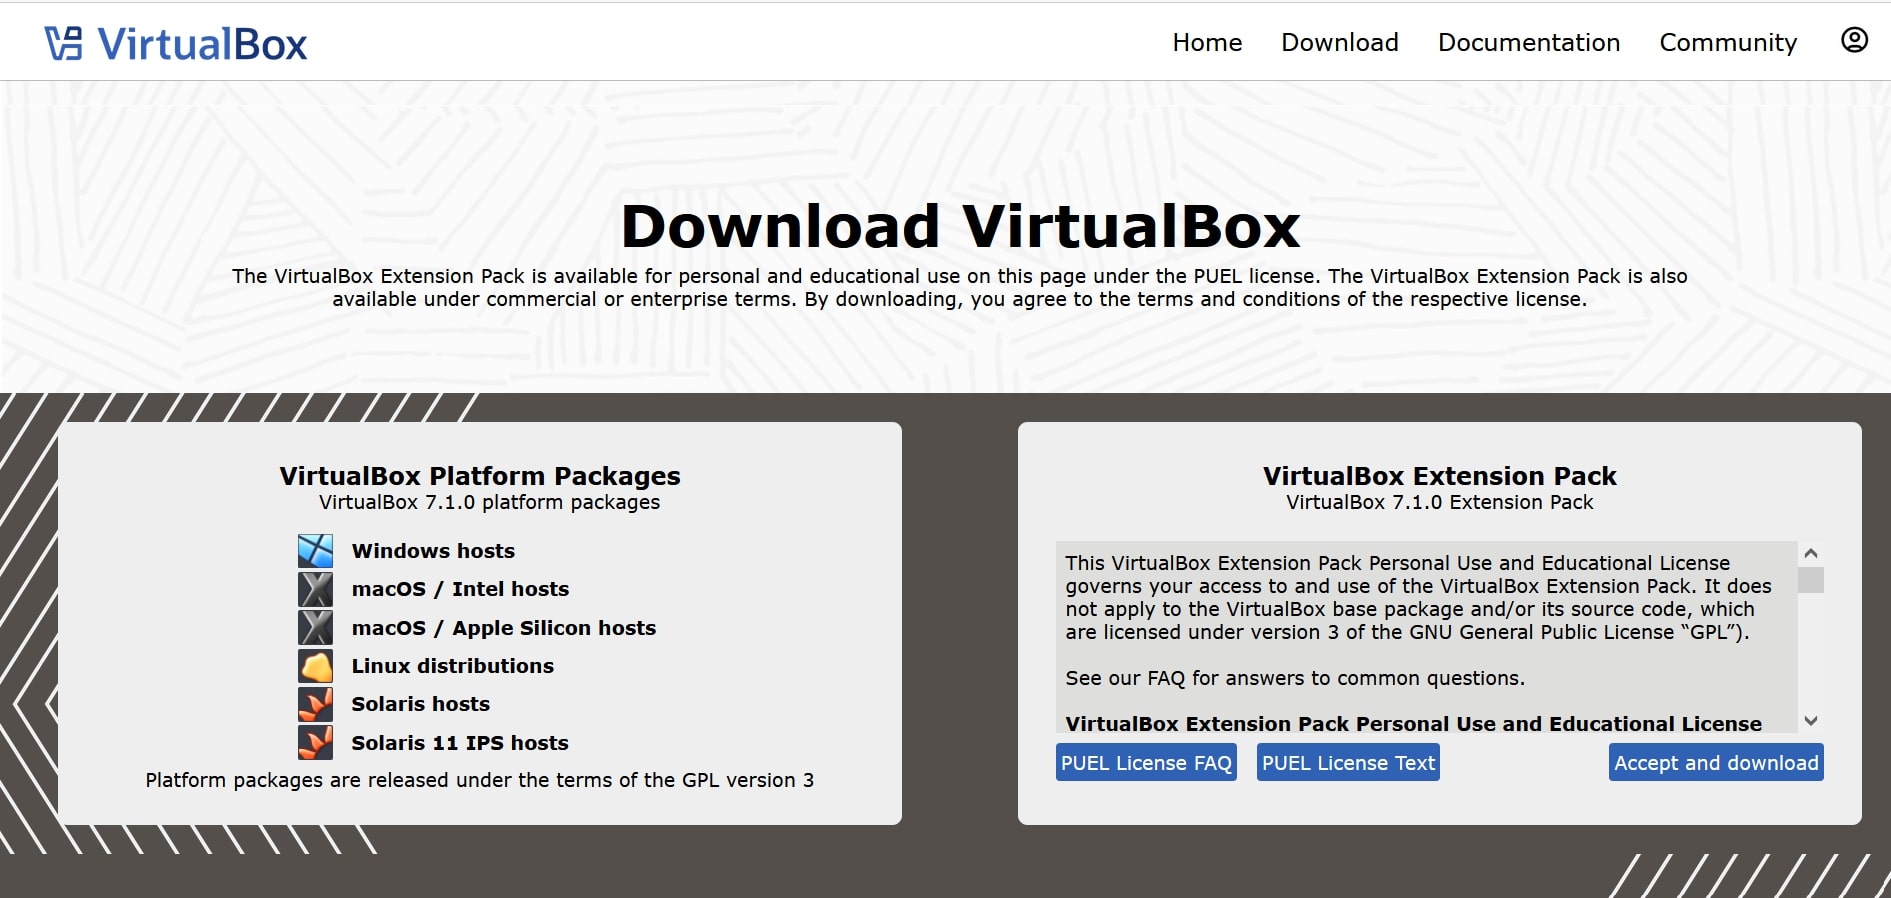
A virtual machine (VM) is a simulated computer that runs inside your actual OS. Virtualization software like VirtualBox creates a virtual container that operates isolated from the rest of your system. You can install operating systems and software into VMs and use them independently.
For our purposes, we can make a VM running macOS Catalina, which works on older Macs. With the VM running Big Sur virtually, our physical unsupported Mac stays on an older host OS undisturbed.
How to Use a Virtual Machine
Here are step-by-step instructions to create a macOS Catalina VM for virtual Big Sur access:
- Download and install VirtualBox on your unsupported Mac. This is free virtualization software.

- Acquire a “macOS Catalina” installer file (.dmg). Older Macs can download it directly.
- Make a new VM in VirtualBox and set memory size to at least 4GB.
- Configure settings like enabling 3D acceleration for suitable performance.
- Select the Catalina .dmg file as your VM boot disk.
- Start the VM, walk through macOS setup, and install Catalina into the virtual container.
- Now download the Big Sur installer normally within macOS Catalina in the VM.
- Run the Big Sur installation process to upgrade your virtual OS instance.
- You can now utilize Big Sur features and apps while on an older physical host!
Pros and Cons of Using a Virtual Machine
Pros:
- Lets you access Big Sur on unsupported hardware.
- Host Mac stays on older OS so incompatible apps keep working.
- VM can replicate latest Mac hardware for improved compatibility.
- Changes happen only within the virtual container, not the whole machine.
Cons:
- Can’t natively leverage the host Mac’s full hardware capabilities.
- Performance is inferior to native Big Sur installation.
- Running two OSes uses more storage space and memory.
- VM management adds some complexity for less tech-savvy users.
Overall, a macOS virtual machine is a handy workaround for accessing Big Sur on an unsupported Mac. Just be mindful of the performance and convenience tradeoffs compared to upgrading natively.
- 100% secure
- 100% secure
- 100% secure
Part 6. An Efficient PDF Editor for macOS 11: Afirstsoft PDF
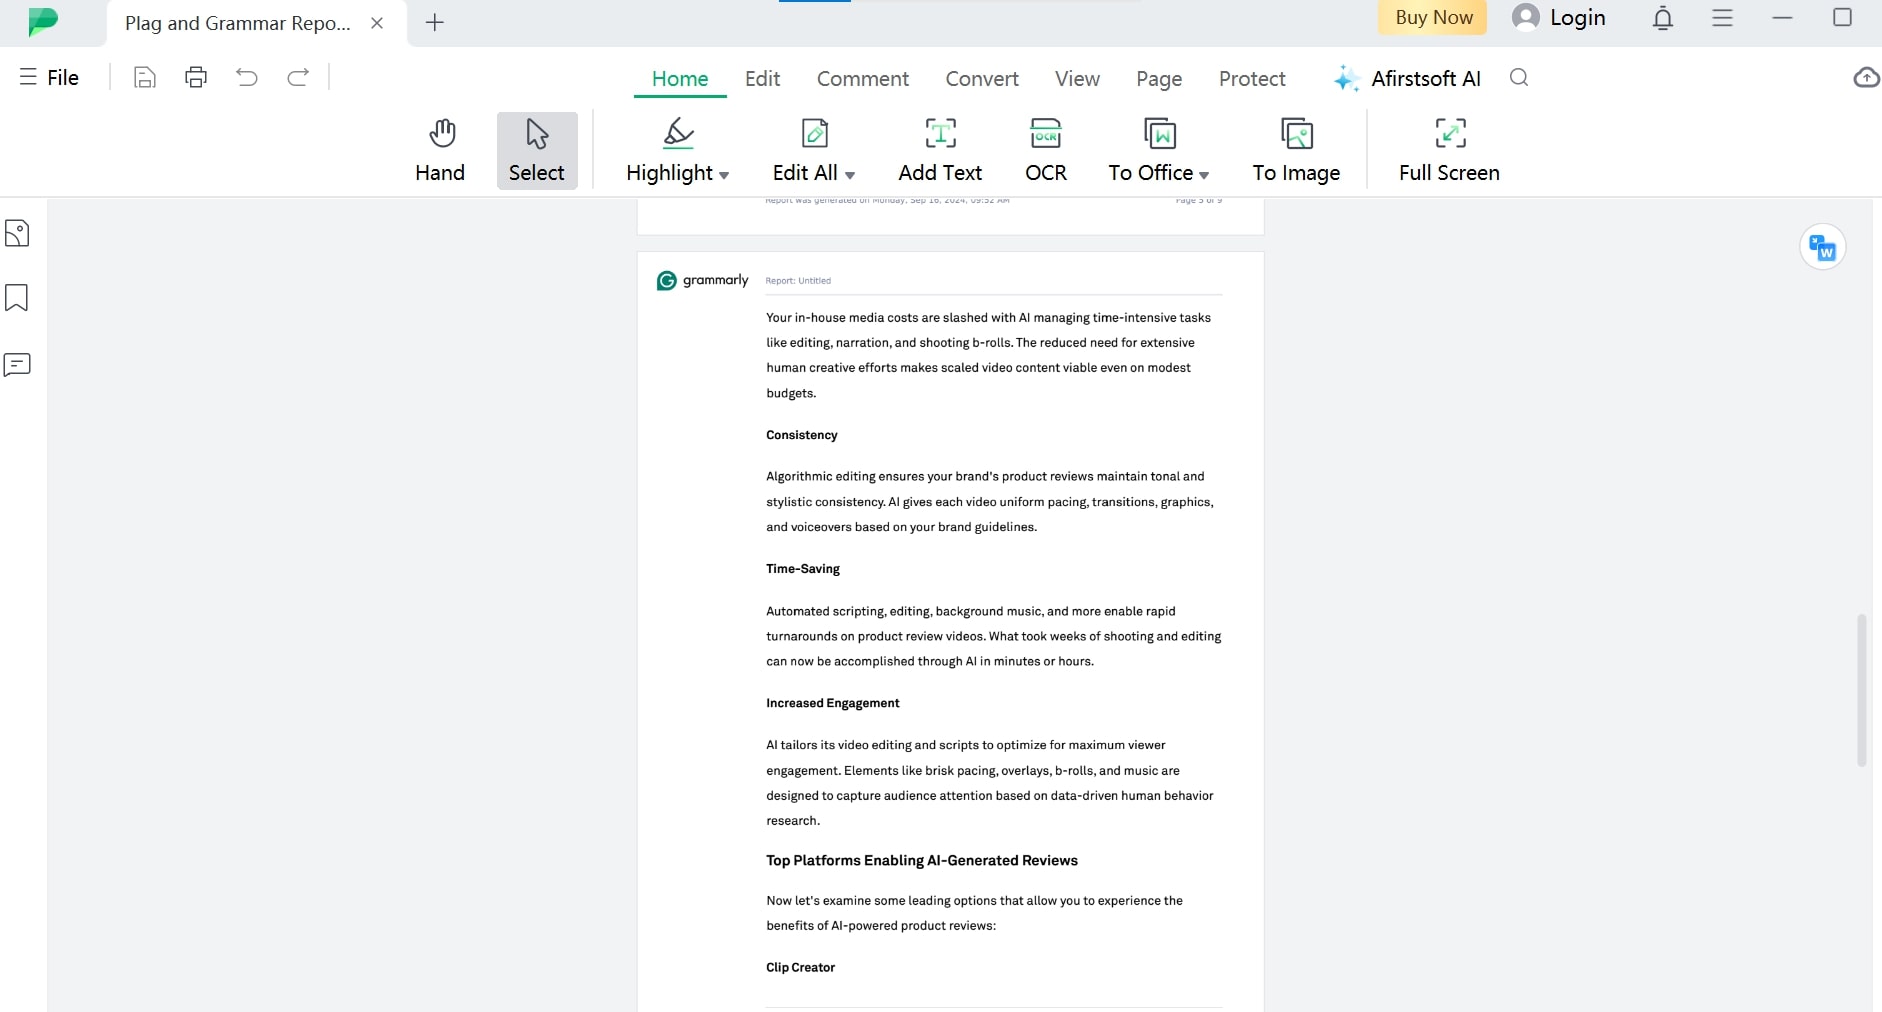
With macOS Big Sur’s rejuvenated capabilities, finding a PDF editor optimized for the new OS is crucial. Afirstsoft PDF is an excellent choice, providing robust PDF tools under a refined interface.

Seamless PDF Conversion
Afirstsoft PDF enables seamless PDF creation directly from common Office file formats like Word and Excel. It can also reliably convert PDFs into editable Office files, images, and more.
Intuitive PDF Editing
Editing PDF text, images, links, and pages is intuitive with Afirstsoft’s smart editing features. Make changes efficiently.
Robust Annotation Tools
Annotation is powered up in Afirstsoft PDF, from highlights and comments to digital signatures. Mark up documents with ease.
Organized Pages
Organizing pages is streamlined as well, with tools to split, merge, rotate, extract, and re-order. Optimize page layouts.
Scanned PDF OCR
For scanned documents, Afirstsoft provides exceptional built-in OCR to make text searchable and editable. Unlock scanned PDFs.
Enhanced Security
Security is also prioritized by Afirstsoft, with password protection, permissions control, and AES encryption. Safeguard sensitive data.
AI Assistant
The AI assistant delivers helpful optimizations like summarizations and talking points from long PDFs. Work smarter.
With its versatility, optimization abilities, and macOS integration, Afirstsoft PDF unlocks new PDF possibilities on Big Sur.
- 100% secure
- 100% secure
- 100% secure
Part 7. FAQs: Common Questions About macOS Big Sur 11
What if my Mac isn’t supported by macOS Big Sur?
For older unsupported Macs, you can try creating a virtual machine with macOS Catalina and installing Big Sur inside that virtual environment. Performance may suffer somewhat, but it allows access on incompatible hardware.
What should I do if the installation fails or stalls?
First, restart your Mac and try the installation again. Also check for storage space errors and free up additional disk space if needed. If issues persist, review console logs for clues, re-download the installer, and contact Apple support.
Can I downgrade to my previous macOS version if I don’t like Big Sur?
Downgrading requires fully reformatting your startup drive and reinstalling your previous OS. You can use a Time Machine backup to restore your files and settings after downgrading.
Are there any known issues with macOS Big Sur 11?
Some users have reported installation problems and system crashes, especially on older Macs. Big Sur also initially had some firewall bypass flaws. Apple has addressed many bugs in subsequent 11.x updates. Check forums for common issues before installing.
- 100% secure
- 100% secure
- 100% secure
Conclusion
Upgrading to macOS Big Sur 11 revolutionizes your Mac experience with its transformative interface, Safari upgrades, new features like Control Center, and under-the-hood optimizations. By following the steps outlined, you can smoothly download, prepare for, and install Big Sur on compatible Macs.
Enjoy faster performance, increased productivity, and heightened privacy. For seamless PDF editing on your refreshed Mac, check out the versatile tools of Afirstsoft PDF. This editor streamlines working with PDFs in the Big Sur environment.


