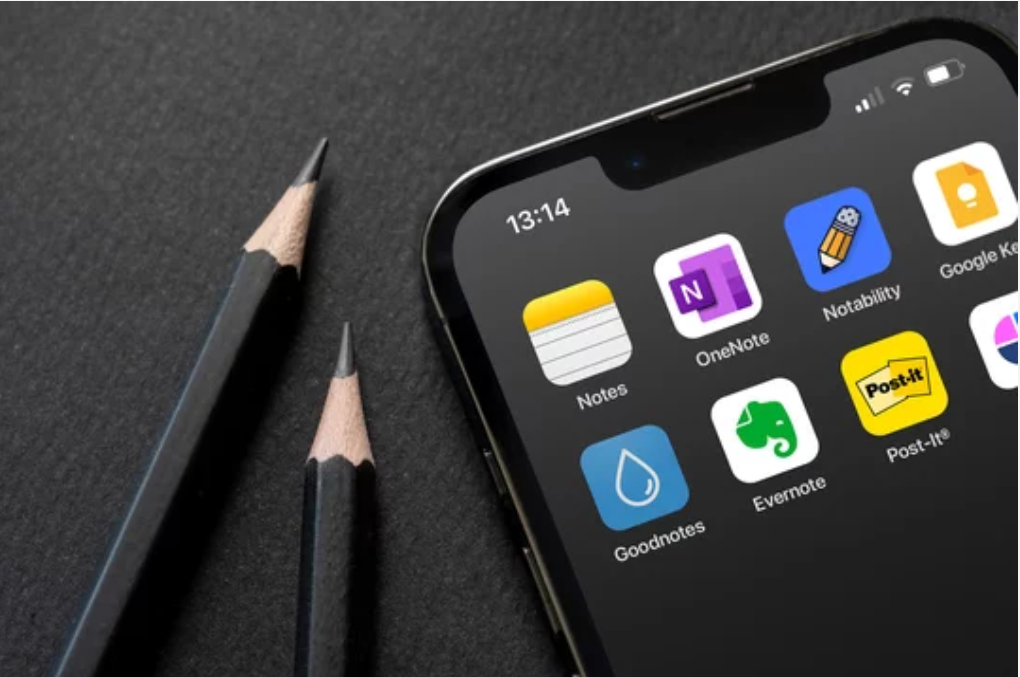
Annotate PDF notability is an effective note taking application that enables users to write notes and underline PDF Notability documents. In a nutshell, notability can be of use if you are a student or a professional or simply possess organizational traits.
Using this tool, one is able to easily underline, highlight, write, draw, and make annotations on their PDF files.
What comes to mind is organizing all your notes and annotations in a proper format so that you can search for them without any obstacles.
In other words, you can effortlessly augment the efficiency of PDF Notability documents by utilizing annotations in Notability.
As such, because notability is easy to use and effective, one can be sure that the organization of PDFs will not be an issue at all.
With the help of its features, it begins with merely highlighting the lecture notes, and can reach to reviewing a professional document.
Let’s explore how to get the most out of this fantastic tool and make your PDF annotations a breeze!
Part 1. Getting Started With Notability PDF Annotation
Tap on the import button, which is normally a plus (+) sign or an import icon. As for PDF importing options, you have iCloud, Google Drive, Dropbox, or your device storage as options.
Go through files and click the PDF you wish to import, and then click on ‘Import’ or ‘Open’, to bring the pdf in to Notability.
Following the organization habits for the imported PDFs, create folders for sorting the related PDFs, rename the PDFs for easy identification and separate the subjects as well as the projects using dividers.
As soon as you synchronize files from your Dropbox, you should get acquainted with the Notability interface. If you manage to open a PDF in Notability, you are going to be introduced to the following:
The Library View is the view where all the created notes and PDFs are arranged, and you can change the view type to be grid or list. The top area is a toolbar consisting of the buttons for creating notes, highlighting and other options.
Look at the left pane; you will find small images of each page of the PDF that allows you to open a page quickly.
Importing PDFs Into Notability
Using Notability to import PDFs is very easy. Here’s a step-by-step guide to help you get started:
- Open Notability: To begin the process, launch the Notability app on your device of choice.
- Tap the Import Button: The plus (+) sign or an import icon is located on the top side of the screen.
- Choose Your Source: You can import PDF files from iCloud, Google Drive, Dropbox, or your device storage, for instance.
- Select Your PDF: Navigate through the folders and locate the PDF that you wish to import.
- Import the PDF:Click on the PDF and then either import or open the document using the Notability software.
Once your PDF is imported, it’s time to organize it. To do so, you need to:
- Create Folders: Collect the related documents into folders for better PDF organization.
- Rename PDFs: Ensure that your PDFs contain distinguishable names.
- Use Dividers: Use dividers to divide different subjects or projects.
- 100% secure
- 100% secure
- 100% secure

If you follow these steps, your imported PDF documents will be organized, and you will not have any issues finding the needed document.
Navigating The Notability Interface
After you have done the importing of PDFs, the next thing that you should do is to get to know the various options that are available on Notability.
If you are going to open the Notability app and open a PDF, you will find several fundamental aspects.
The Library View is the main section of the application, as it shows all notes and PDFs with an option to switch a view type to a grid or list.
The functions like adding notes, highlighting etc, are available on the buttons present on the top, known as the toolbar.
On the left side, we find various thumbnail images of the pages in the PDF, and it is convenient to navigate directly to the desired page.
Understanding The Annotation Toolbar
If there are cases where you need to notability annotate PDF files, the annotation toolbar will be useful. Free-hand writing or drawing is also available with the Pen tool, and the Pen tool can also be reselected.
Another feature that makes the highlighter very effective is highlighting some texts.
If you misswrite anything on paper, then with the help of the Eraser tool, you can remove the marks that you unwantedly did.
The first one is known as Text Tool, where you can add a textbox wherever you want in the PDF, and the other one is Shape Tool, with which you can draw shapes, including circles, rectangles, and lines.
To operate the tools available, double click that tool which you need to remove or add some other parameters or get color and thickness and correct it by using undo button in case of any mistake.
Part 2. Essential Annotation Tools In Notability
Let's dive into some of the essential annotation tools in Notability and how to use them effectively.
Highlighting And Underlining Tools
Starting with the ‘highlighting and underlining tools’ interface. When using Notability, if you want to highlight any annotation or underline it, you must go to the toolbar and, tap on the highlighter/pen tool, then pick your favorite color and thickness.
Next, browse with the cursor over the text that you want to accent with the color or underline.
Sticky Notes And Comments
Another useful feature is the ability to add sticky notes and comments to enrich your annotations further.
In order to attach a sticky note, click the sticky note icon in the toolbar or press the “Ctrl+Shift+Y” shortcut and type your message in the comment window that appears on the screen.
Post-its can be used to highlight additional data or comments or to write questions and other notes that are important to you.
Freehand Shapes And Sketches
Drawing freehand shapes and sketches can add a creative touch to your annotations. Select the pen tool, choose a color and thickness, and start drawing.
You can create arrows to point out important details, draw circles around key points, or sketch diagrams to illustrate concepts.
Freehand drawings make your annotations visually engaging and can be particularly useful for visual learners.
Inserting Text Boxes
Another more useful feature for example is the ability to place text boxes. Inserting a text box is as straightforward as clicking on the text button, right clicking where one wants the text box to be, and typing.
Additionally, you have further options to change the font of the text box, its size and the color of the printed text.
Highlighter, Pen, And Eraser
Utilizing the highlighter, pen, and eraser tools is straightforward.
The highlighter helps emphasize important text, the pen tool is perfect for writing notes or drawing, and the eraser lets you correct mistakes quickly.
Color And Thickness Of Annotations
Options that can be used from the toolbar include increasing/decreasing the color intensity of the notes and bringing out a change in their thickness.
Double tapping on the tool will bring up the options you want to change the color or thickness.
Organizing Annotations With Layers
Annotating work with layers is something that Notability has to offer and is rather helpful.
Based on the previous examples, layers are useful for splitting the different types of annotations used for working on more extensive documents.
It is possible to have notes, highlights, and drawings on different layers and switch between the layers to see what is on them.
- 100% secure
- 100% secure
- 100% secure
Part 3. Advanced Notability PDF Annotation Features
When you annotate PDF Notability files, using advanced features can greatly enhance your experience. Let’s explore some of these powerful tools.
Bookmarking Important Pages
Making the needed pages in Notability bookmarks is easy and proves to be quite helpful, especially in large PDF documents.
To bookmark a page, open the PDF file containing the document and go to the particular page which you are interested in bookmarking. Click on the tiny moving icon of the bookmark, normally located in the upper part of the interface.
This adds a bookmark, which makes it effortless to locate the sections of the material that are useful to read once again.
Using bookmarks is even more useful for documents that consist of a set of multiple similar pages, and it helps to find a necessary page without scrolling through the PDF file.
Searching For Text Within Annotated PDFs
Searching for text within annotated PDFs is another handy feature. To search for text, open your PDF and tap on the search icon (a magnifying glass).
Type the word or phrase you’re looking for into the search bar. Notability will highlight all instances of the searched term within the document.
This feature is perfect for finding specific information quickly, especially in documents with extensive annotations.
For efficient searching, use specific keywords and phrases related to the content you need.
Exporting Annotated PDFs To Share With Others
Exporting annotated PDFs in Notability is very simple and easy. To export a PDF, just open the document and click on the top right-hand corner, where there is always a box with an arrow pointing upwards.
Tap the invoked share menu, and select your desired mode of sharing – including via email, AirDrop, Google Drive, and Dropbox.
For those who use other PDF readers, there is a wide range of features you can use, and you can export the PDF and all annotations you have made and share the work with your peers or friends.
Integrating Notability With Cloud Storage Services
Integrating Notability with cloud storage services can have a positive impact on how you deal with notability PDF markup files.
To integrate the cloud, navigate to the settings menu in Notability and choose a preferred cloud provider like iCloud, Google Drive, or Dropbox.
Just like the above steps, follow the link instructions that appear on the screen to link the account.
After integration, the files can easily be transferred between notability and cloud storage in PDF format.
- 100% secure
- 100% secure
- 100% secure
Part 4. Optimizing Your Notability PDF Workflow
When you annotate PDF Notability files, optimizing your workflow can save you time and make your tasks more efficient. Here’s how you can make the most out of Notability’s features.
Customizing Annotation Presets And Shortcuts
Customizing annotation presets and shortcuts is a great way to streamline your workflow. To set up presets, tap on a tool like a highlighter or a pen, then choose your preferred color and thickness.
Notability allows you to save these settings as presets. For shortcuts, you can customize gestures or toolbar placements to quickly access your favorite tools.
This customization means you spend less time adjusting settings and more time focusing on your annotations.
Organizing Your PDFs And Annotations
Organizing your PDFs and annotations effectively can prevent your documents from becoming cluttered.
Within Notability, you can create subjects and dividers to categorize your documents. For example, you can have separate subjects for different projects or classes.
Use dividers to further organize these subjects into broader categories. Additionally, you can rename your documents and use descriptive titles to make them easier to find.
Leveraging Notability's Productivity Features
Using Notability’s productivity features can go a long way in improving your productivity.
Tools such as multi-note support enable you to have two notes open at a time, which is especially helpful when comparing documents or taking notes from a PDF.
Audio note is another useful tool where you can record lectures or meetings and link the notes with the audio.
This will help in avoiding missing out on any significant information.
Another productivity functionality is the capability to search for text within a note to enable the user to locate a certain piece of information easily.
Tips For Efficient PDF Annotation
- Create a consistent annotation system (e.g., specific colors for different types of information like yellow for highlights, red for urgent notes).
- Avoid over-annotating to keep your PDFs readable.
- Focus on key points and important sections to make your annotations meaningful.
Common Pitfalls To Avoid:
- Do not back up your documents—always save them to a cloud service like iCloud or Google Drive to prevent data loss.
- Neglecting bookmarks and layers can lead to disorganized and hard-to-navigate documents.
- 100% secure
- 100% secure
- 100% secure
Part 5. Conclusion
Notability files enhance your document management and note-taking experience when done on PDF Notability. The app has multiple useful features with which creating annotations and using them in PDFs is effective and interesting.
You can thus maximize productivity while keeping your work well-organized with great annotations through the mastery of these features. Start the journey towards enhanced document management with the help of electronic document management software.
For those aiming to improve their PDF editing skills, AfirstsoftPDF Editor is a great option.
This software comes packed with features that work well alongside iAnnotate.
Whether you need to annotate, proofread, or edit PDFs, AfirstsoftPDF Editor has a comprehensive set of tools to help you.
With AfirstsoftPDF, you can easily change text, images, and other elements in your PDFs.
Its user-friendly design makes it easy for beginners to navigate and use its features. From simple edits to more complex modifications, AfirstsoftPDF Editor can handle it all.
Download Notability today and start to annotate PDF Notability files like a pro. Be sure not to pass on the chance to enhance your note-taking and PDF annotation processes.
Use Notability starting from now and observe the changes in your performance on a daily basis!