Working on digital documents like PDFs requires you to edit, convert, organize, review, and annotate them all the time. While these features have made managing documents a breeze, several other features allow you to take document management and sharing to the next level.
One feature that is less talked about is “Flattening a PDF.” If you are someone who works on PDFs regularly, you need to know about this amazing feature that will change how you finalize and share the documents.
When sharing a form, a business contract, or a legal agreement, one issue that we regularly face is the document size. While there are many tools and ways to reduce the file size, flattening a PDF is by far the easiest and quickest way to reduce the file size in a few seconds.
So, no more deleting annotations, removing high-quality content, and optimizing images to reduce the file size. In the guide below, we will learn what a document is and why you should do this if you work with PDFs. We will also learn to use a couple of popular tools to flatten your PDFs quickly. Let’s dive in.
Part 1. What to Know Before Flattening a PDF?
Before you begin flattening a PDF to reduce the file size, there are a few things you must know about.
- If your PDF contains large images, high-resolution content, and complex graphics, flattening may not significantly help. You should reduce resolution and optimize images instead.
- Sure, flattening may reduce the file size, but it will also remove hidden and interactive layers from your documents that make them complex.
- If your PDF contains annotations, hyperlinks, comments, or other interactive elements, flattening it will make it non-interactive.
- Once the PDF is flattened, you cannot undo the process like you would with any other process. Therefore, keep it as your final step before you print or share the file.
- Editing in the flattened PDF is more challenging than editing in unflattened documents. So, make sure to have a copy of the original PDF in case you want to edit it in the future.
- There are a few alternatives to flattening documents, such as using a virtual printer to "print to PDF" or scanning a document to get a more flat and static version of it.
Part 2. What is Flattening a PDF?
Flattening a PDF refers to the process of merging all the interactive layers and elements of the document into a single layer that is no longer interactive and editable. No matter whether there are annotations, text fields, hyperlinks, comments, highlights, dropdown lists, sticky notes, or checkboxes in the PDF after flattening, they will become a non-interactive image.
After the process, you can see the image or text, but you cannot make any edits to the documents even if you need to. This means you can no longer fill out the form, delete annotations, add annotations, highlight text, or click on the links embedded in the document.
Though the document may lose its interactive layer and complexity, it will maintain visual consistency, meaning it will look the same across different platforms and PDF readers, which is a plus. That being said, there are several other reasons why people flatten their PDFs.
Part 3. Common Reasons to Flatten Your PDFs?
Flattening a document comes with several advantages, and here are a few common reasons to flatten your PDF documents as well.
- Finalizing the Document:Whether you are filling out a form or submitting an assignment, if you want to make sure the document is unchangeable and locked, flattening it before sharing is the best way to go. This is especially important if you are sharing lega documents, business forms, or contracts.
- Preparing a Document for Printing: When you add annotations, comments, hyperlinks, and other interactive elements in the PDF, they will still come out as an image or printed text. However, having these layers in the document might disrupt how your print comes out. So, after flattening the document, you will ensure the printed version of the document matches what you see on the screen.
- Reducing File Size:If you have a question: does flattening a pdf reduce file size? The answer is yes. Since the flattening process combines all the layers and elements into one layer image, it can significantly help reduce file size. However, if you have high-resolution images and content in your PDF, you need to look for a better way to reduce the file size.
- Securing Annotations:If your documents contain annotations, comments, notes, or markups and you are sharing them for review, flattening them will lock all the annotations and comments. This will make the PDF uneditable, ensuring the other person can review it without altering it.
Part 4. How to Flatten a PDF for Free Online with Smallpdf?
Flattening a document is necessary for reducing file size, maintaining visual consistency, and securing annotations and comments. In this step-by-step guide, we will walk you through all the steps for flattening a PDF for free online using Smallpdf.
However, before we start, make sure to have an original copy saved, as the flattened version will no longer be editable. Ready to learn? Let’s dive in.
Step 1: Open SmallPpdf in your browser
If you are looking for a quick, easy, and free way of flattening a PDF, Smallpdf is the right tool for you.
To use the tool, open your browser and type in Smallpdf in the search bar. You can also click on smallpdf.com to open the website.
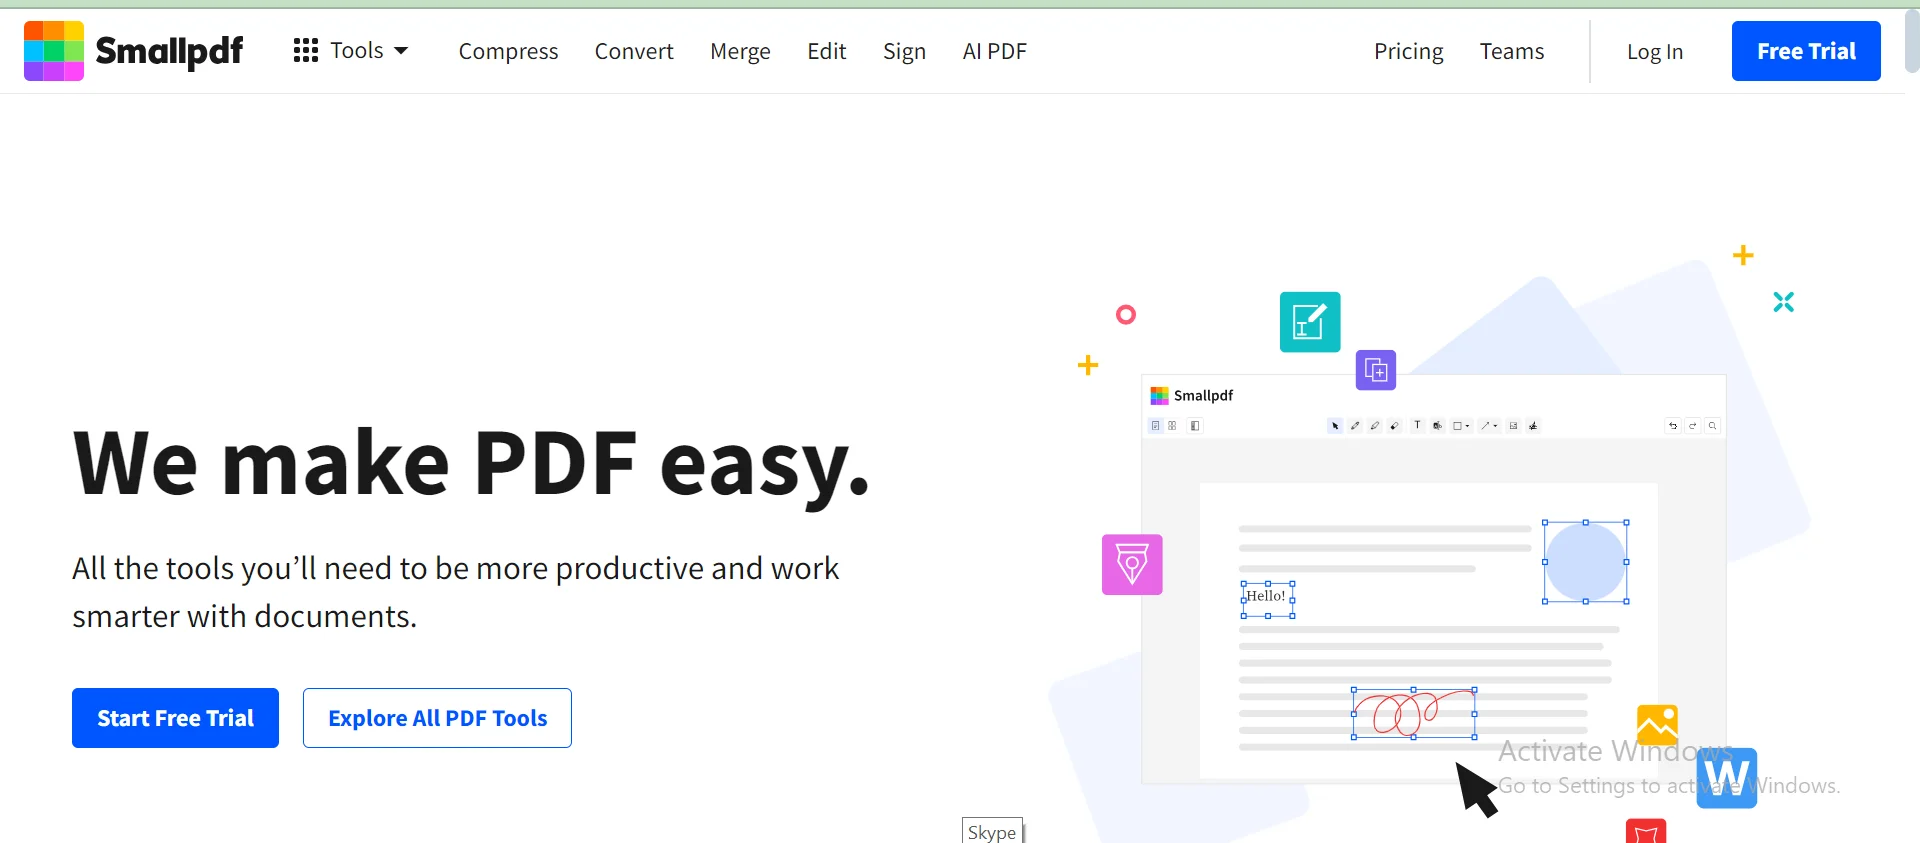
After clicking on the link, you will directly land on the website homepage with all the tools and PDF editing options.
Step 2: Navigate to “Tools”
Now, on the home page, you need to navigate to the top left corner of the screen and click on the “Tools” option.
After clicking on the option, an arrow-down menu will open on the screen with all the tools to compress, convert, organize, view & edit, convert from PDF, convert to PDF, sign, and scan documents along with a few tools under the “More” heading.
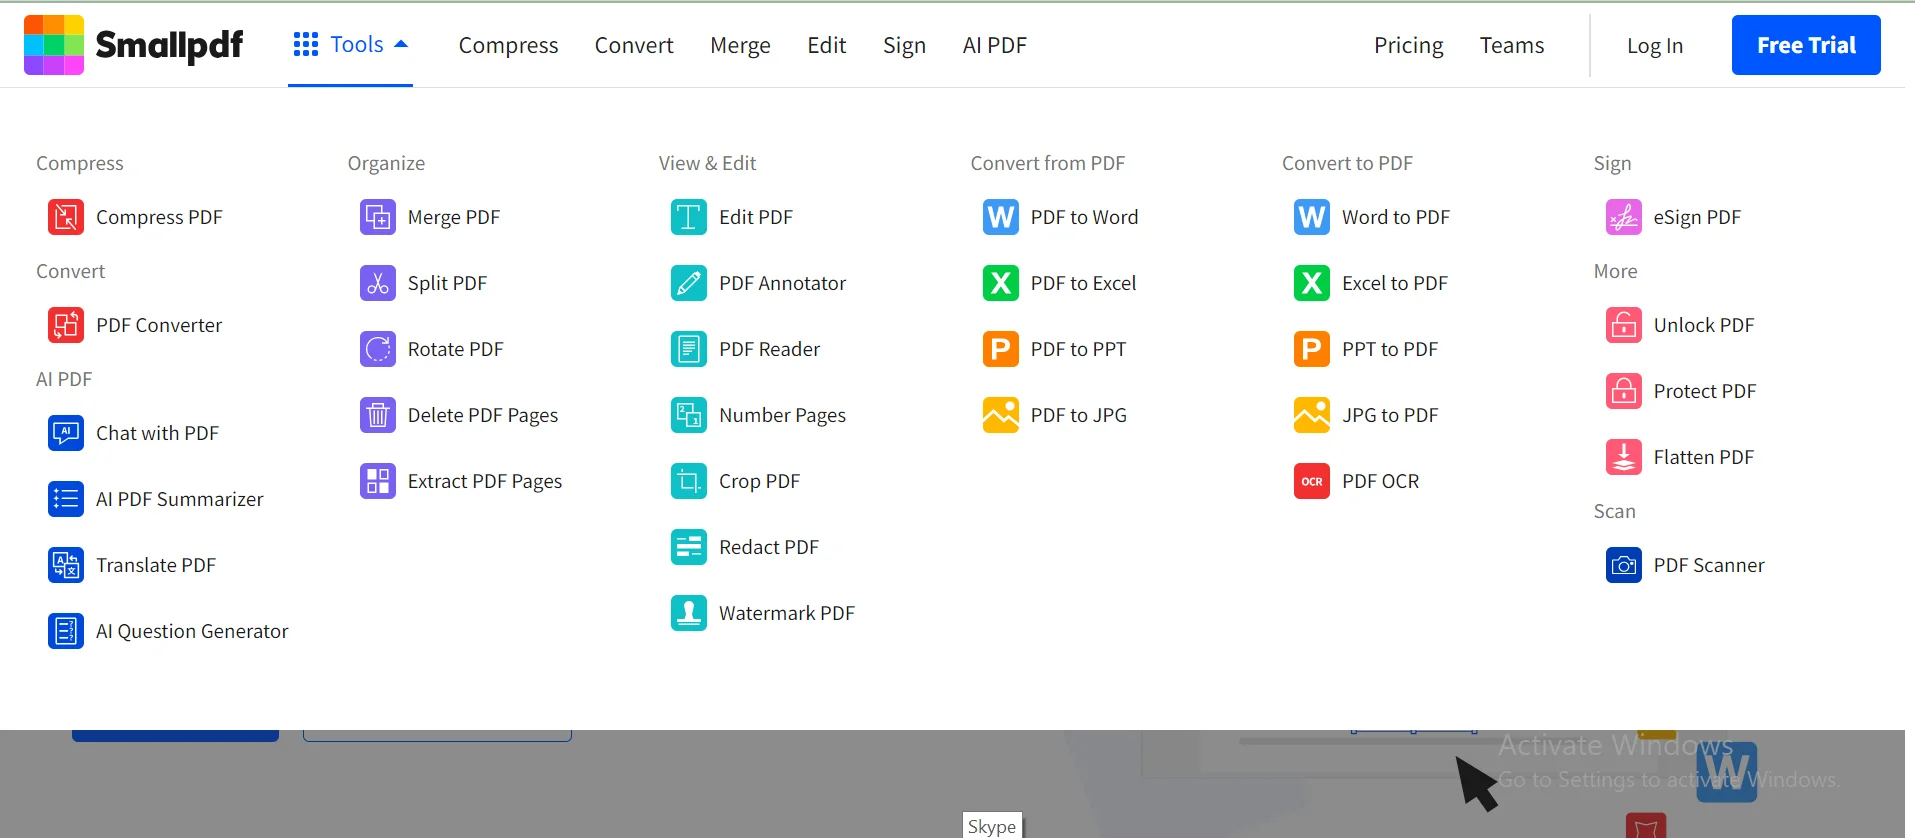
From the Tools, navigate to the right side of the screen, where you will find “Flatten PDF” under the “More” heading.
Click on “Flatten PDF.”
Step 3: Open “Flatten PDF”
After clicking on the option, a new page will open on the screen where you can choose a file to upload from your device, Google Drive, Dropbox, or SmallPDF (available in the pro version).
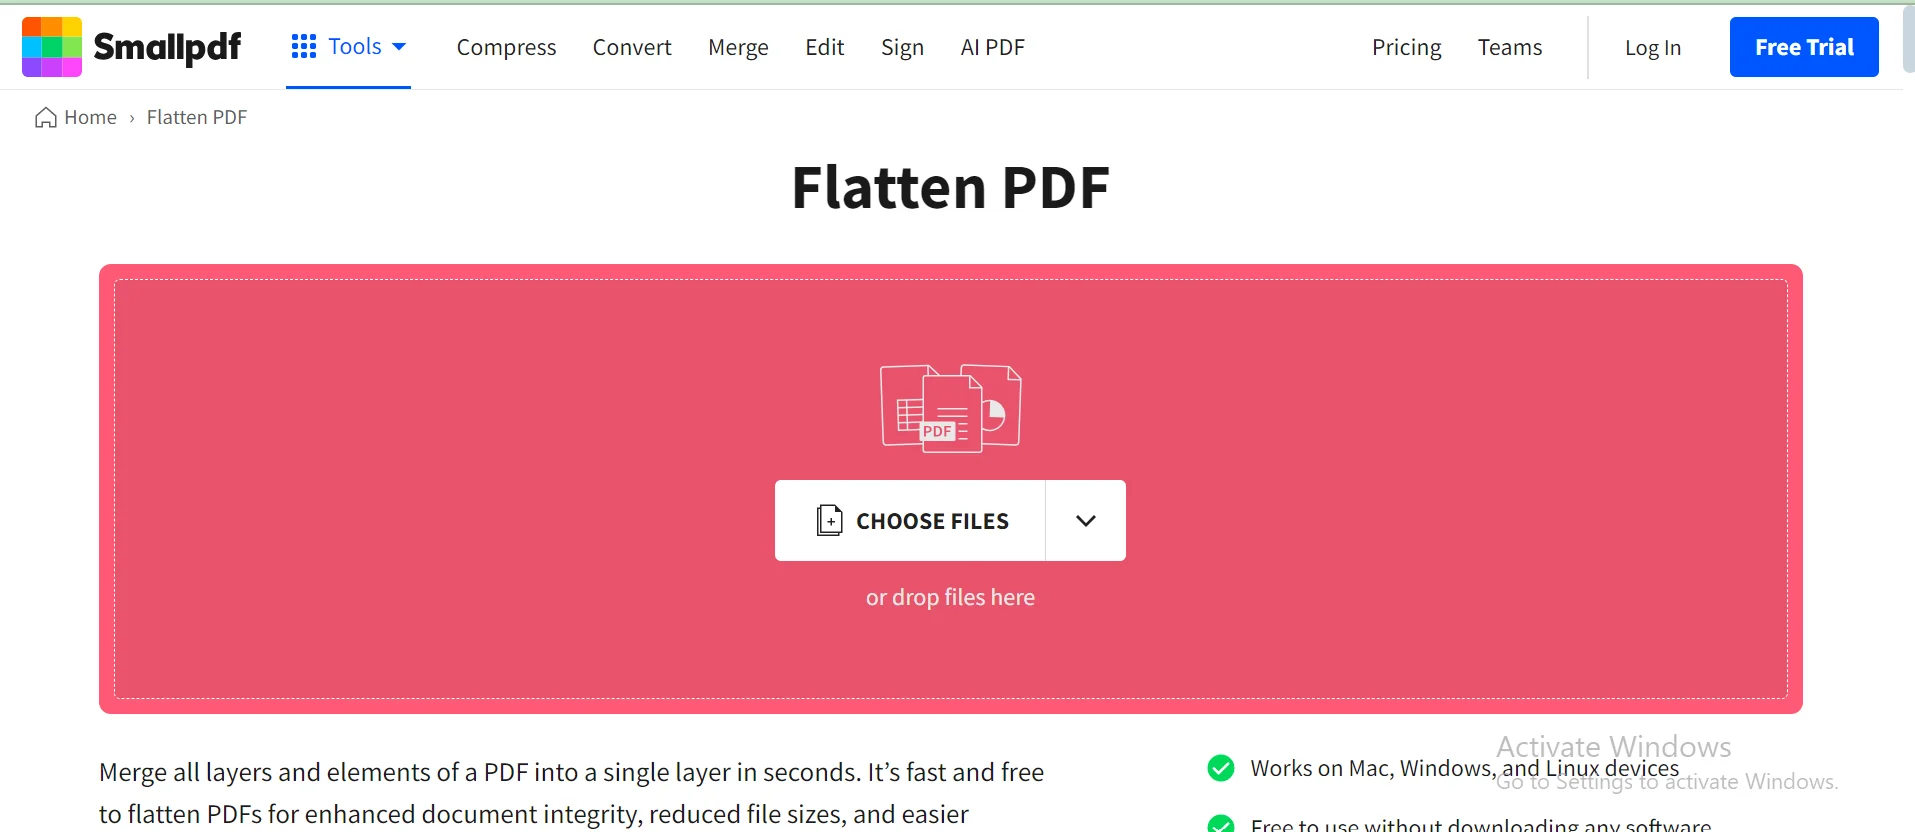
You can also simply drag the file and drop it on the page to start the flattening process.
Step 4: Upload the file
After choosing the location form where you want to upload the file, select and open the file, and a new page will appear on the screen with your file uploaded.
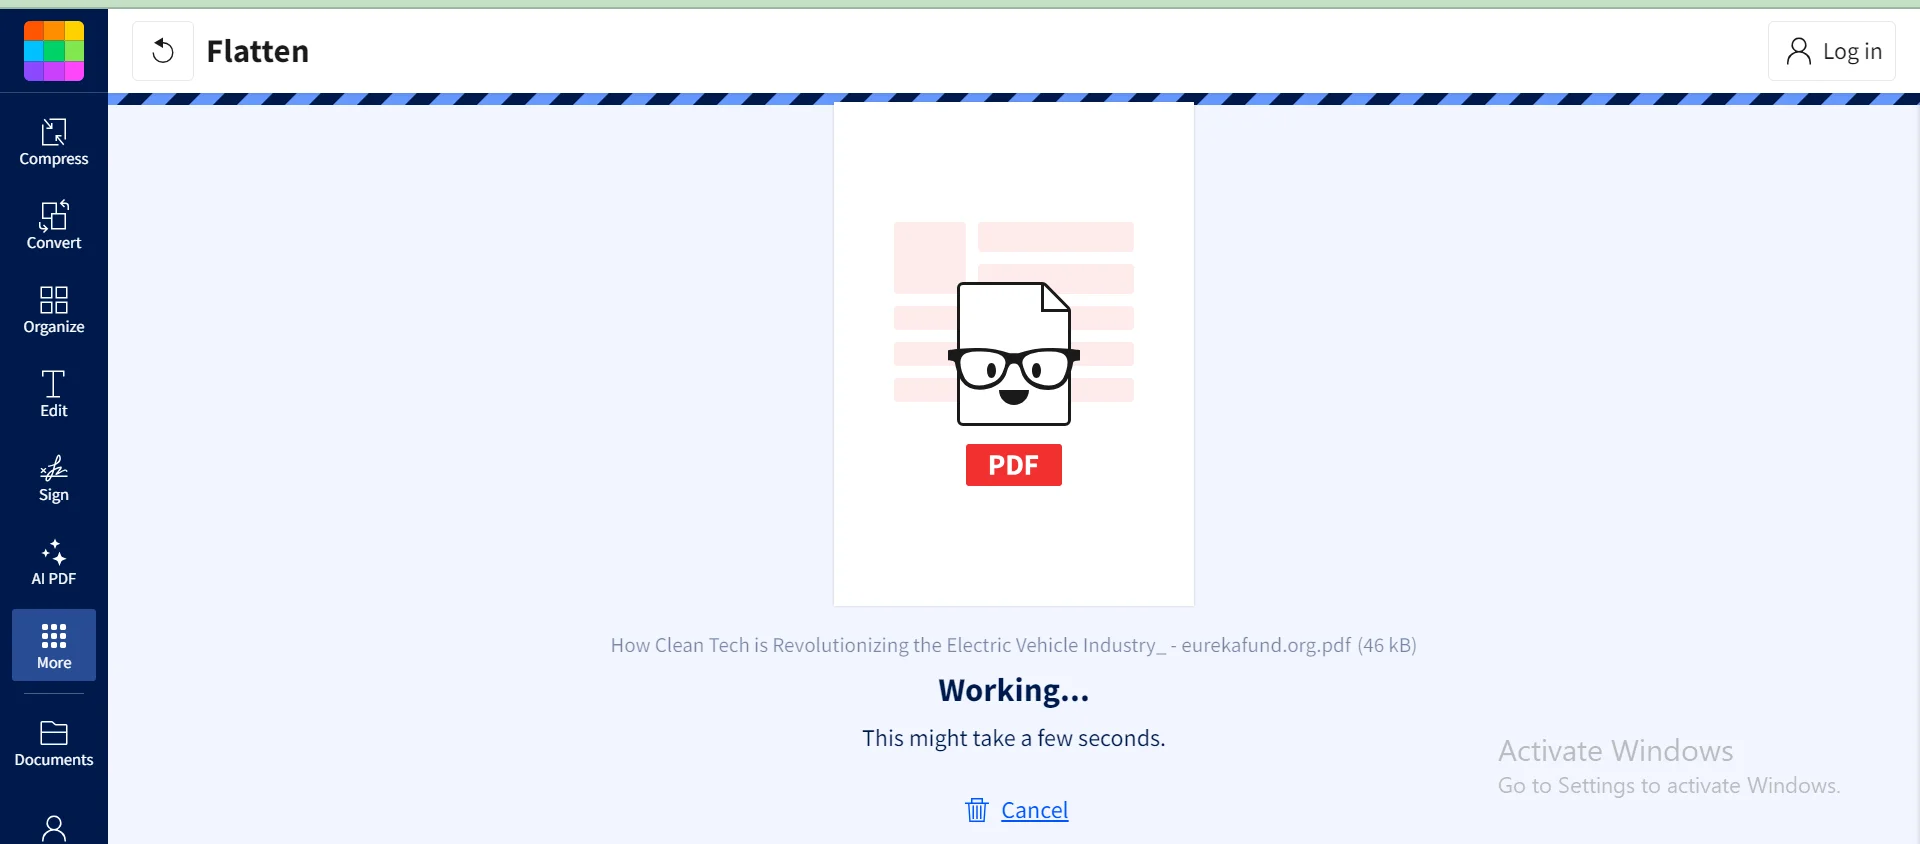
The file may take only a few seconds to upload. Once uploaded, your PDF is flattened.
Step 5: Download the flattened file
The tool only takes a few seconds to upload and flatten the file, which is now available for you to download.
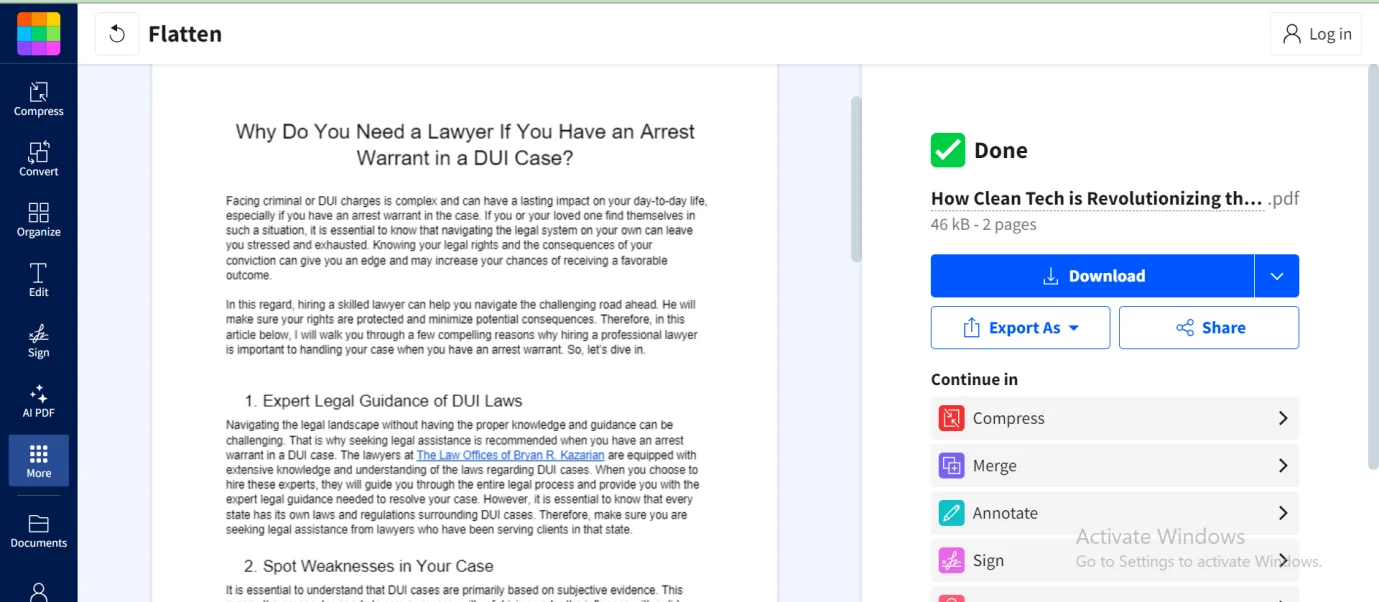
You can share, download, or export the document according to your needs.
Just like that, Smallpdf has made turning your interactive document into a flattened and non-interactive image simpler than ever before. If you want to flatten more documents, you can follow the same steps.
Part 5. How to Flatten a PDF with PDF Pro Editor?
The most recommended way to flatten a PDF is to use a reliable PDF editor such as PDF Pro. A good PDF editor comes with a comprehensive range of editing tools that not only allow you to create, edit, annotate, and organize PDFs but also lets you flatten documents in a quicker and faster way.
PDF Pro is an all-in-one PDF editor that is the most affordable option compared to other Pro PDF editors in the market. It is a powerful, easy-to-navigate, and versatile option if you are looking for something basic with all the necessary tools.
Let’s learn how this tool can help you flatten your documents.
Step 1: Open PDF Pro in the Browser
To start using this online PDF editor to flatten your documents, open it in your browser.
To do so, you can either type in “PDF Pro” or click on the link pdfpro.com that takes you directly to the website homepage.
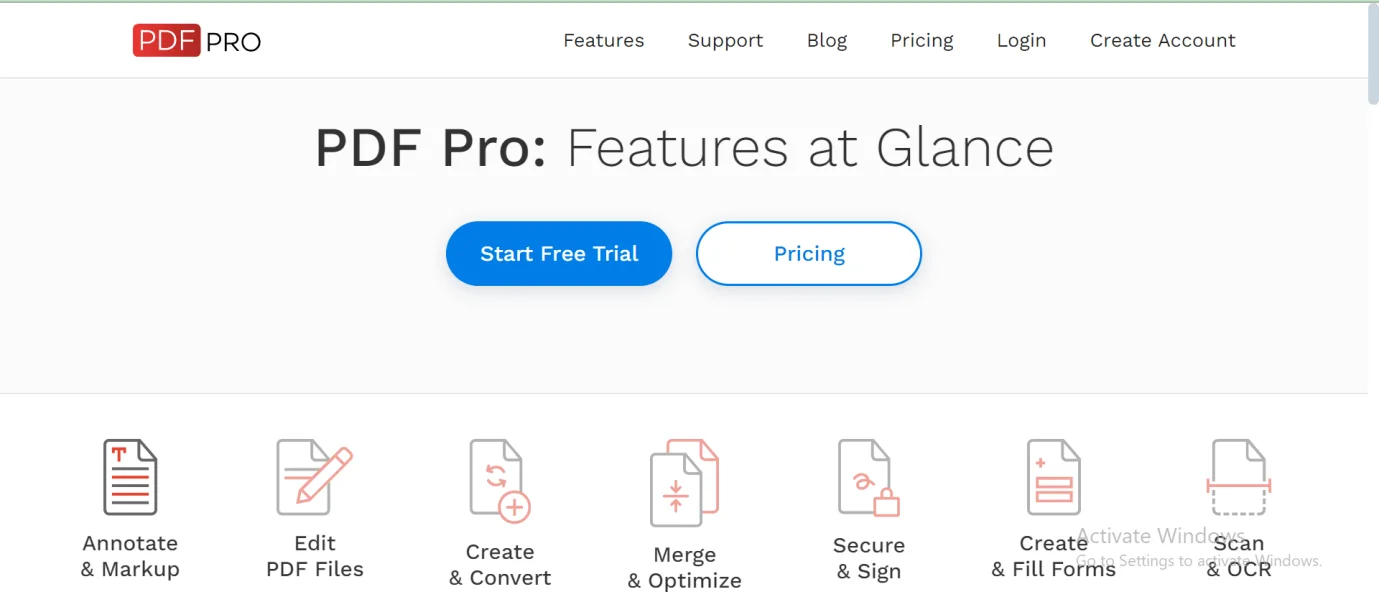
Once you land on the website, you will see all the all the features and tools on display for you to choose from.
Step 2: Download the PDF Pro Application for Free
On the homepage, you will see a “Start Free Trial” button to download the application to your system.
After downloading the file, permit it to install in your system by selecting “I agree to the End User Licence Agreement and conditions,” selecting the location, and choosing the language.
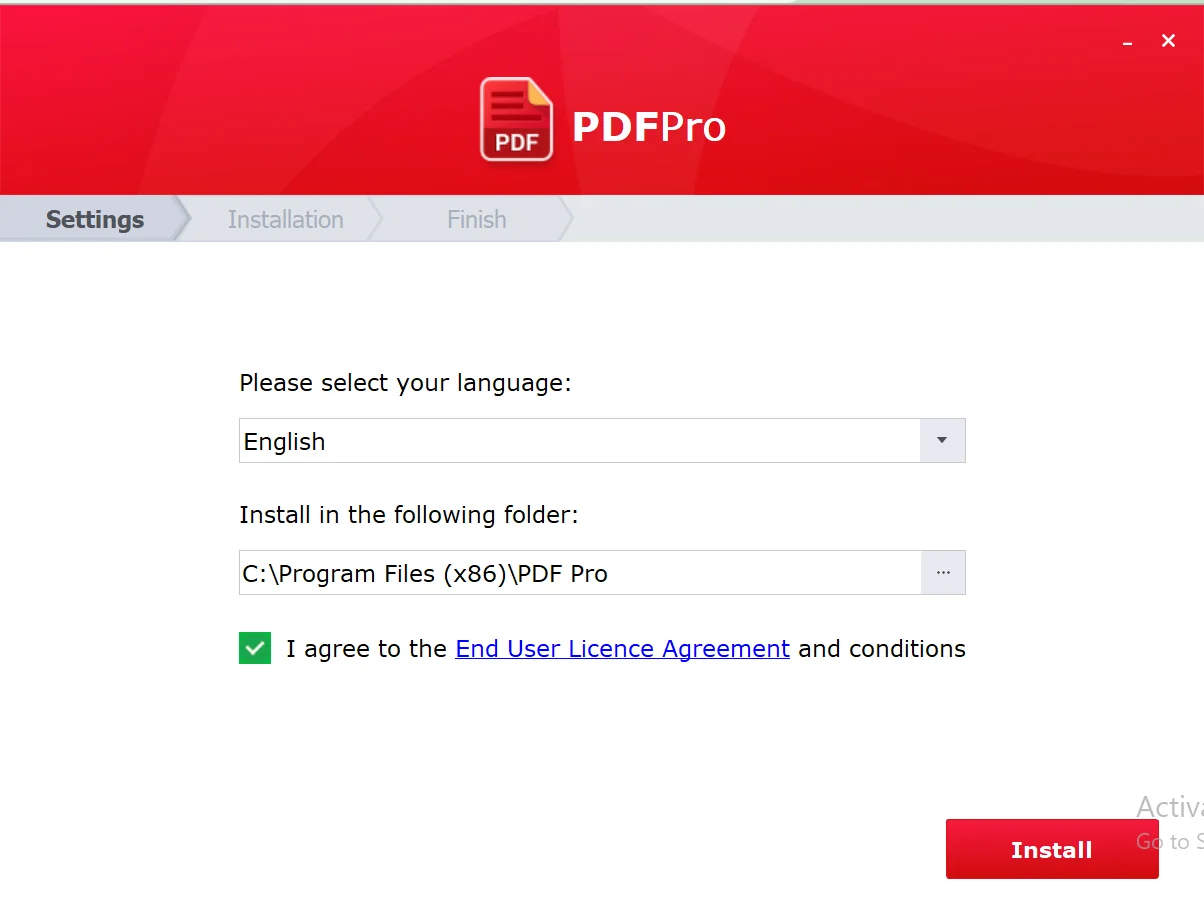
After that, click on the “Install” button, which will lead you to the next window where you can add your email address if you wish to receive updates and newsletters from PDF Pro.
If not, skip the window, and the installation process will start.
Once the installation is complete, click on the “Finish” button.
Step 3: Create a PDF Pro account
Just like any other application, PDF Pro also requires you to create an account.
To do so, click on the “Create” button below the screen, which will direct you to a website where you need to enter your email address.
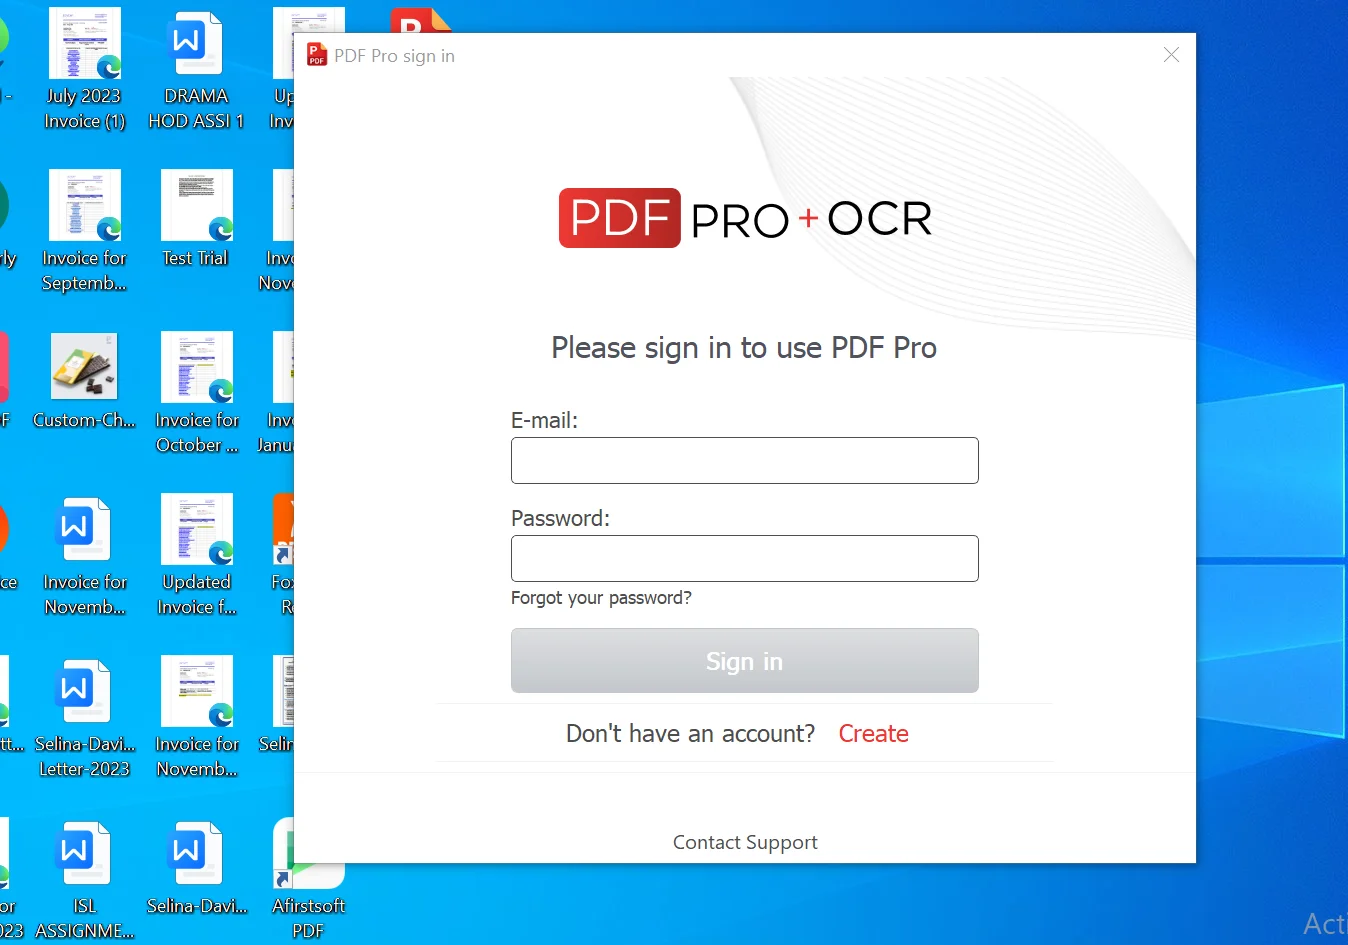
After you enter the email address, you will receive an email at the same address to activate your account.
Open the email and verify your account by entering your name and password.
Once done, simply click on “Go to Login,” and your account will be created.
Step 4: Log into the Application
After creating an account, log into the application, and you will be welcomed on the homescreen of the application.
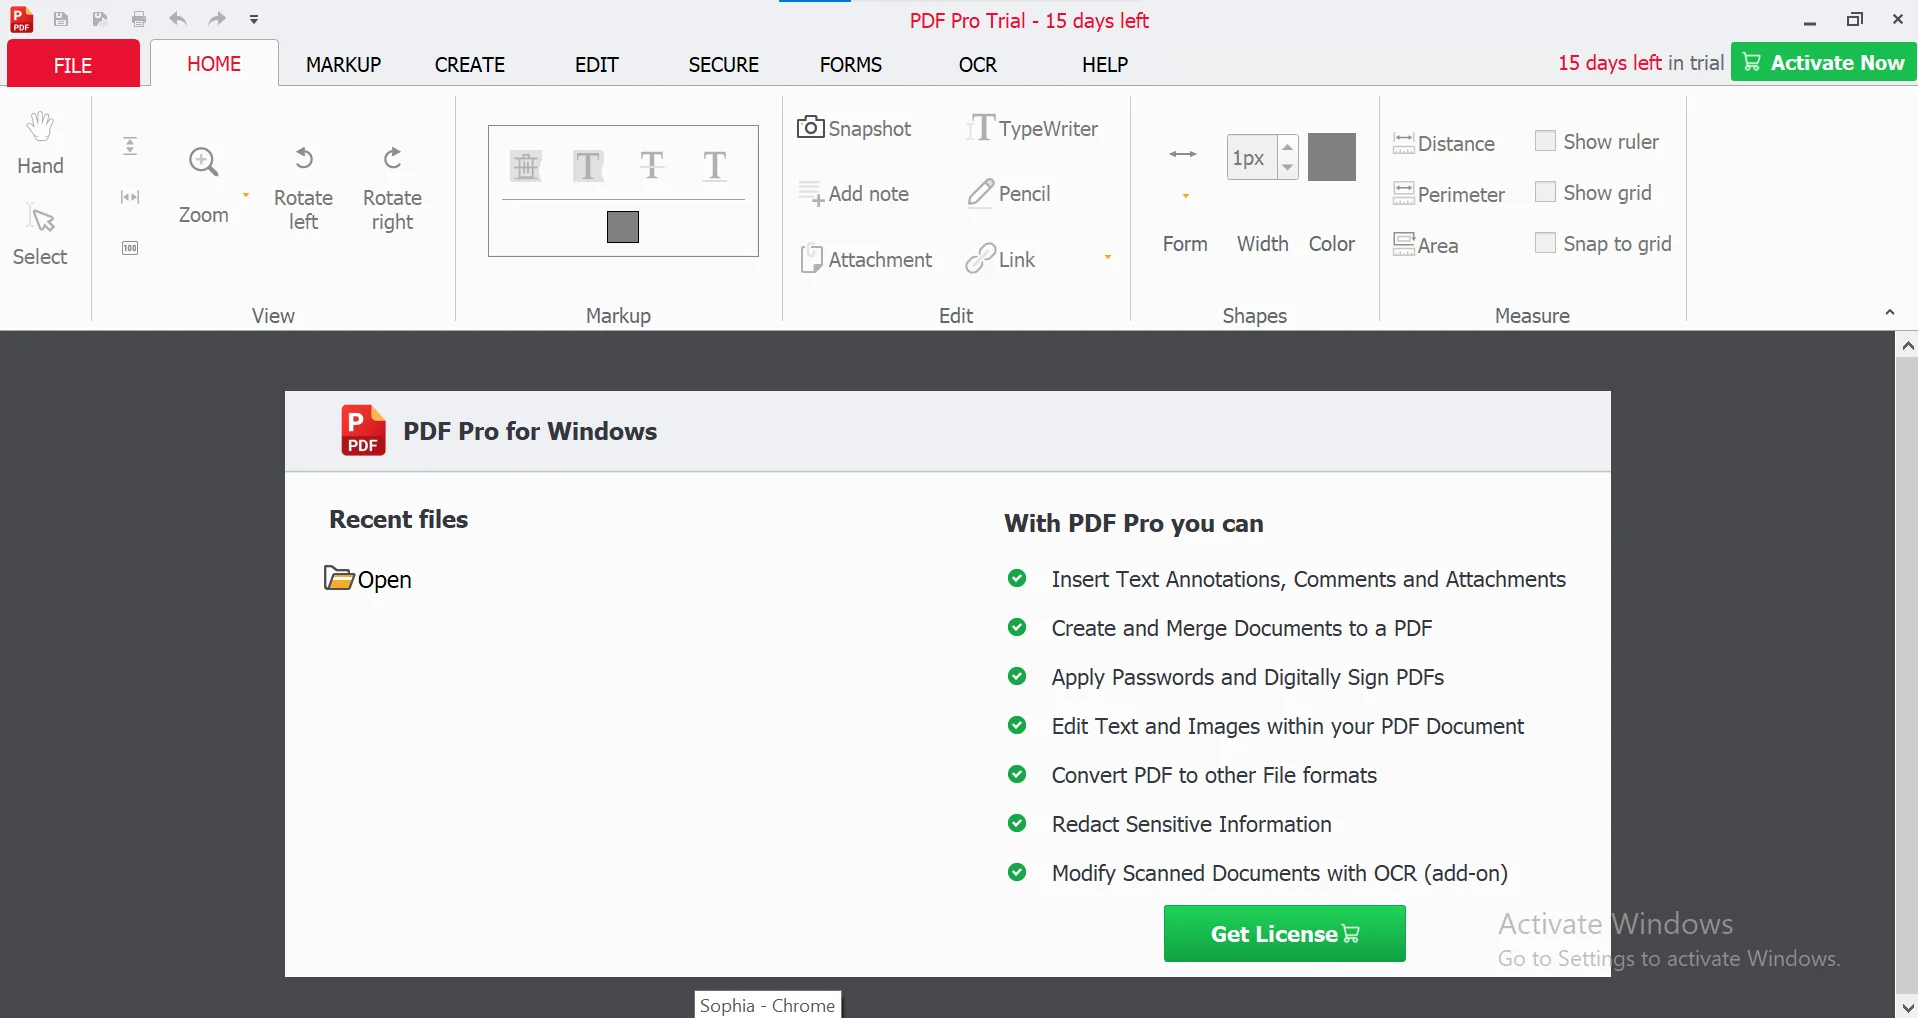
After opening the PDF Pro, you will find all the options available for free.
Step 5: Open “Create” Tab
Now, to get access to the “Flatten File” option, navigate to the menu to click on the “Create” tab and then on the “Fatten File.”
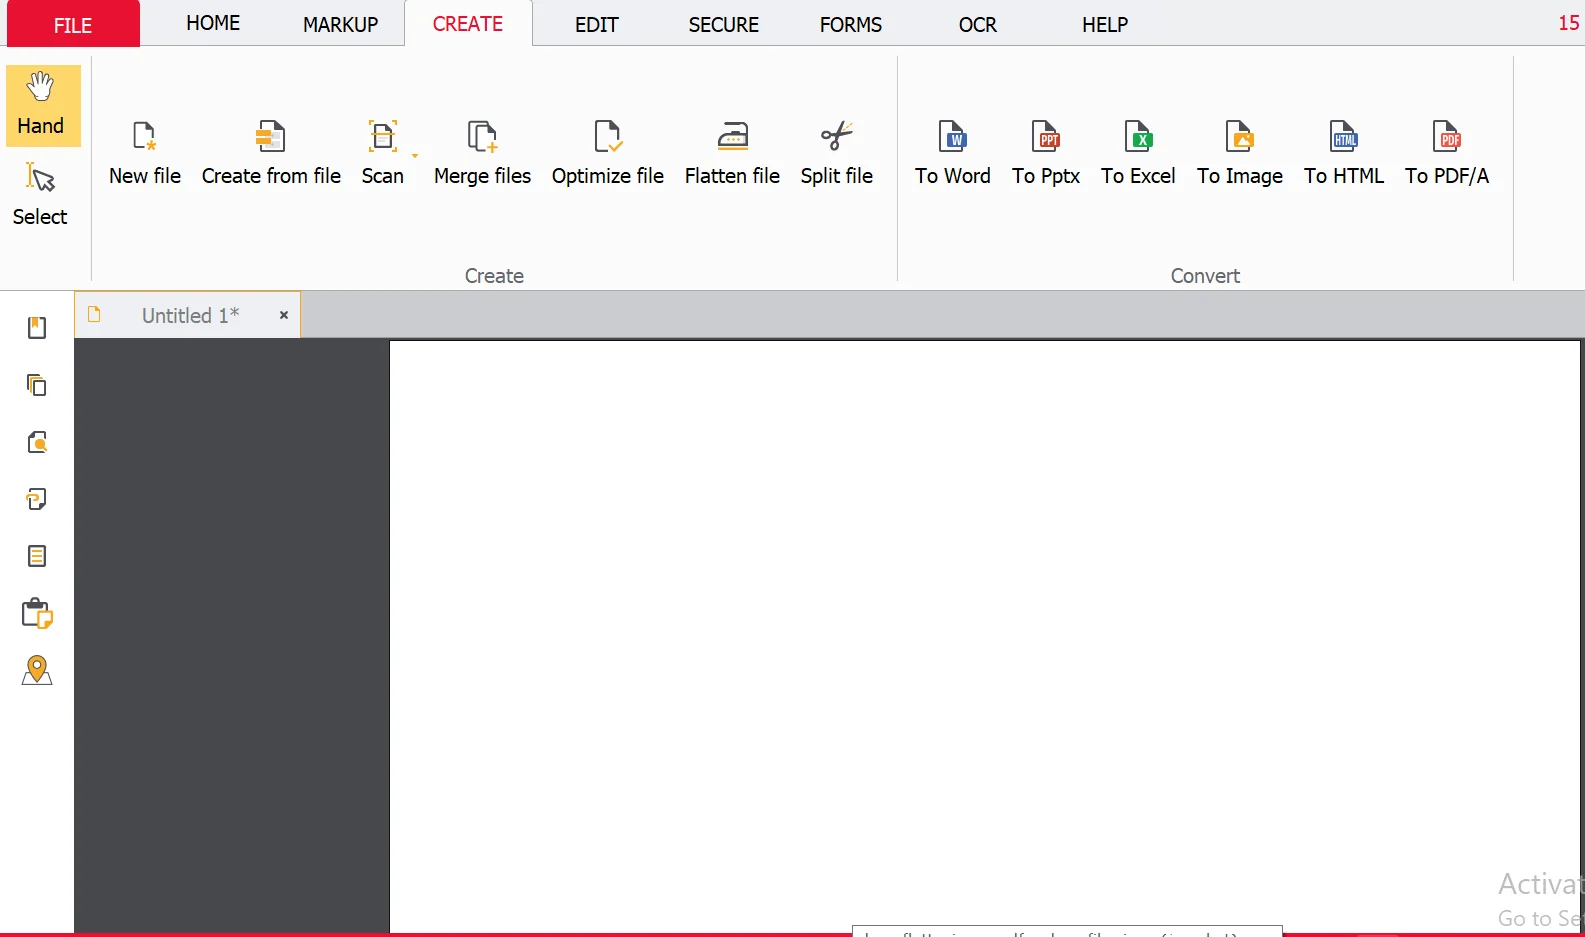
In the Flattener Preview dialog box, you can change any settings you want to apply. If not, you can simply press “Create.”
Just like that, your PDF document is flattened and ready for you to share or save.
Step 6: Save the PDF
Finally, your PDF is flattened and ready to be saved to your device.
Though the process of downloading and installing the application and then creating an account is a bit long, the actual process of flattening the document is quick.
Once you are set up, follow the same steps to flatten your documents before finalizing and sharing them.
Part 6. Benefits of Flattening PDF Documents
While many may think that flattening a document makes it lose all its interactive elements, it is
exceptionally beneficial for people who regularly deal with PDFs, forms, contracts, and agreements. Wondering how? Here are a few benefits listed:
- Better Security: One of the primary reasons why people flatten their PDFs is to prevent any modifications. Interactive elements in the document, like text boxes, form fields, and comments, can be modified. So, to prevent that from happening, it is better to convert the document into static content that cannot be altered, enhancing security,
- Consistent Appearance: Since the document is static and cannot be modified, it appears cleaner and more consistent across devices, platforms, and PDF editors. This flattened version appears polished and professional.
- Enhanced Workflow:Complex PDF files with interactive layers and elements can sometimes be challenging to navigate, view, or manage. In contrast, the flattened version simplifies the document structure and gives closure by finalizing the document.
Part 7. Final Words
Have you ever considered flattening a document to reduce its size before? If not, this guide should make you consider doing this the next time you finalize and share your documents. This will ensure that your document is not only uneditable but also less complex to navigate and look consistent across devices and platforms.

