Taking screenshots on a Mac is a useful skill for capturing exactly what you see on your screen. Whether you need to save a photo, document an error, or share something interesting, knowing how to take a screenshot on Mac can make your digital life easier. There are several methods to take screenshots on a Mac, each suited for different needs. In this guide, we'll explore how to screenshot on Mac. After reading this guide, you can choose the best method for any situation.
Part 1. How to take a screenshot on Mac using Keyboard Shortcuts
Taking a screenshot on a Mac is quick and easy using keyboard shortcuts. Here is how to take screenshot on Mac using shortcuts of the keyboard –
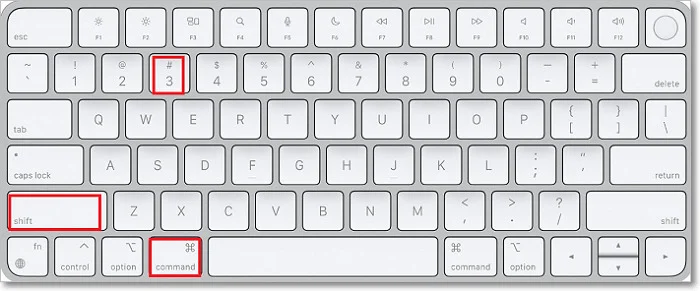
- Capture Entire Screen
To capture the entire screen, simultaneously press "Command" + "Shift" + "3". After pressing these keys, you'll hear a camera shutter sound, indicating that the screenshot has been taken. The captured screenshot will be saved as a file on your PC by default.
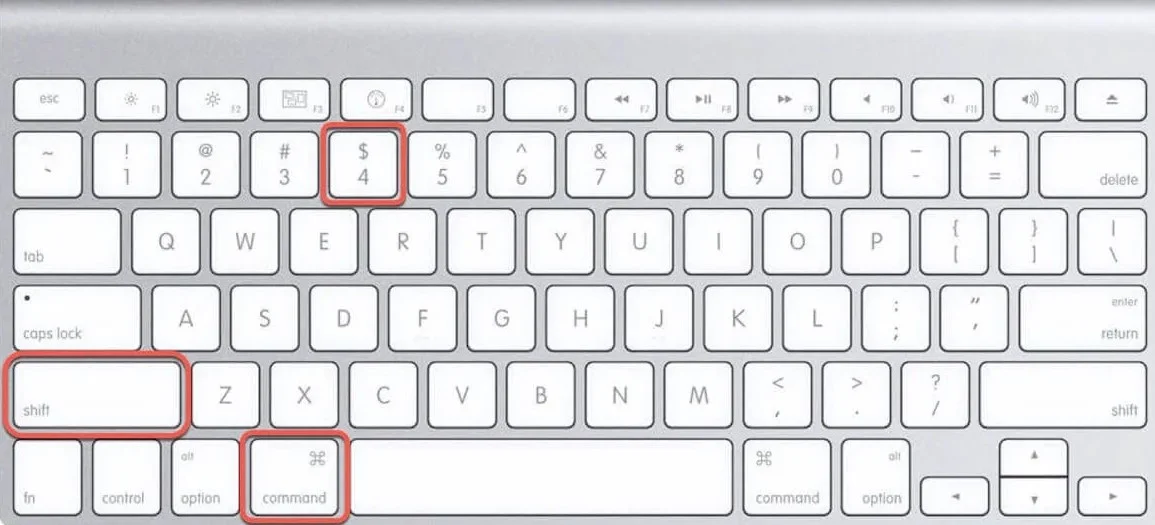
- Capture Selected Portion of the Screen
If you only want to capture a specific portion of your screen, press "Command" + "Shift" + "4". Your cursor will turn into a crosshair. Tap and drag to choose the area you wish to capture. Then, release the mouse button while you've selected the desired location. Again, you'll hear the camera shutter sound. After that, the screenshot will be saved to your computer.
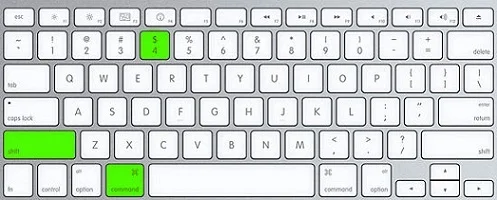
- Capture a Specific Window
To capture a specific window, such as a browser window or an application window, press "Command" + "Shift" + "4", then press the spacebar. Your cursor will turn into a camera icon. Move the camera icon over the window you want to capture, and it will be highlighted. Click on the window, and the screenshot of that window will be saved to your desktop.
Part 2. How to take screenshot on Mac using Preview?
Preview is a versatile application pre-installed on macOS devices, primarily known for its image and PDF viewing capabilities. Beyond its viewing functions, Preview also serves as a handy tool for capturing screenshots effortlessly. With Preview, users can capture screenshots of their entire screen, specific windows, or selected portions. This offers a seamless way to capture and edit images. Some of the basic editing tools available in Preview include annotation options like text, shapes, and arrows, as well as adjustments for color, size, and rotation. It empowers users to enhance their screenshots with ease. Here is how to screenshot on a Mac using Preview –
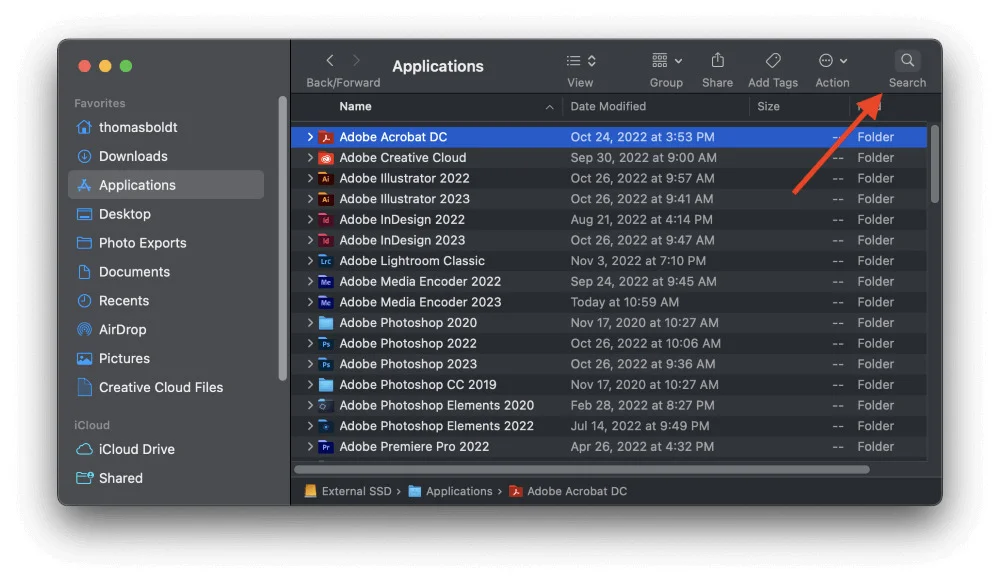
Step 1: Launch the Preview app from the Applications folder or using Spotlight Search.
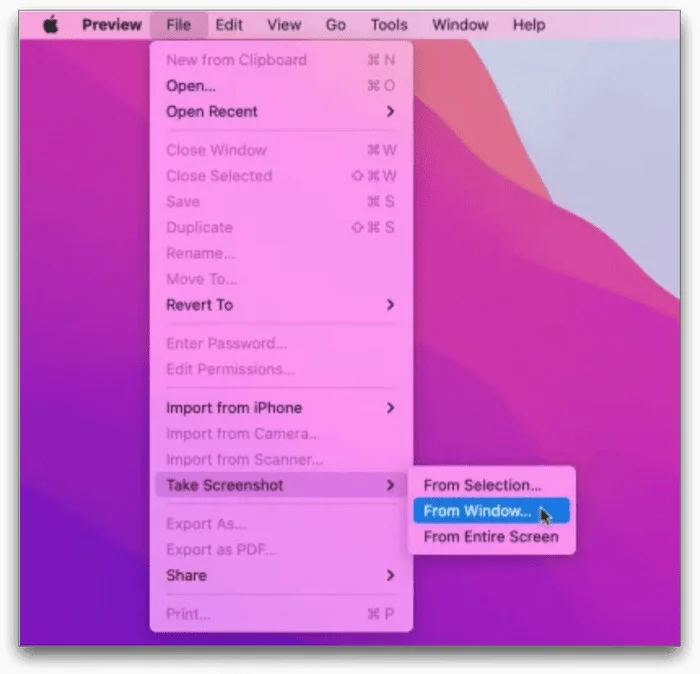
Step 2: Click on the "File" menu in the menu bar and choose "Take Screenshot." Alternatively, you can use the keyboard shortcuts: Shift + Command + 5.
Step 3: A toolbar will appear at the bottom of the screen with options to capture the entire screen, a selected window, or a specific portion. Select the desired capture option.
Step 4: Click on the desired capture area or window. If selecting a specific portion, drag to select the area you want to capture.
Step 5: After capturing the screenshot, it will appear in a small thumbnail at the bottom right corner of the screen. Click on it to open in Preview for editing. Here, you can annotate, crop, resize, or make other adjustments to your screenshot using the editing tools available in Preview.
Step 6: Once you're satisfied with the edits, click on the "File" menu and choose "Save" to save the screenshot to your desired location on your Mac.
Part 3. How to Save Screenshot as PDF with Afirstsoft PDF?
Afirstsoft PDF is a versatile software designed to simplify your PDF editing tasks. With its user-friendly interface, you can effortlessly convert screenshots into PDF format with just a few clicks. Beyond conversion, it offers comprehensive editing features. This software allows you to annotate, modify, and customize your PDF documents according to your needs. Whether you're a student, professional, or simply someone who frequently works with PDFs, Afirstsoft PDF streamlines your workflow and enhances your productivity. Here is how to save a screenshot on Mac as a PDF using Afirstsoft PDF –
Step 1: Find the Afirstsoft PDF program on your computer and open it.
Step 2: Choose the PDF file you want to work with. You can do this by clicking on "Open" within the software and selecting the file from your computer.
Step 3: Look for the "Convert" button at the top of the software interface. Click on it, and you'll see an option to "Create PDF". Click on this option.
Step 4: After clicking "Create PDF," you'll be prompted to choose the file you want to save as a PDF. Select the screenshot you want to convert.
Step 5: Once you've selected the screenshot, click "Save" or "Save As" to save it as a PDF file. Choose the location on your computer where you want to save the PDF and give it a name if needed.
Step 6: After saving, you can view and edit the PDF within Afirstsoft PDF. You can make any necessary changes or additions to the document.
Benefits:
- Seamlessly convert PDFs to Excel, Word, or PowerPoint formats with precision and accuracy.
- Preserve the original layout of your documents, ensuring easy editing while maintaining their authentic appearance.
- Easily add notes and make edits to your PDF documents with seamless efficiency.
- Access your files from anywhere with seamless integration with popular cloud storage services.
This software offers various benefits, such as easy conversion of files to PDF, editing capabilities, and more. To experience these benefits, you can download Afirstsoft PDF by clicking the button below.
Conclusion
In this guide, we explored how to screenshot on Mac. Mastering the art of taking screenshots on your Mac opens up a world of possibilities for capturing and sharing important moments or information. Whether you prefer the convenience of keyboard shortcuts or the versatility of Preview, there's a method that suits your needs. Plus, with tools like Afirstsoft PDF, you can seamlessly convert your screenshots into PDFs. For effortless PDF conversion and editing, consider giving Afirstsoft PDF a try. With its intuitive interface and comprehensive features, it's a valuable addition to any Mac user's toolkit.


