Notability is one of the most powerful, versatile, and popular note-taking applications, and it is known for its robust set of features. Whether you are a business owner, educator, or a creative professional, the tool is pefect for people from all professions. It allows you to smoothly integrate images, audio, handwriting, and typing into your notes. With its intuitive interface and rich features, Notability is a perfect tool for you.
However, another primary reason why people use this app is to annotate PDFs. In this regard, the feature that really enhances the usability of the tool is its ability to insert text box in pdf. Using this feature, you can highlight the important information from the PDF, add labels, or fill out a form. From importing PDFs into Notability to creating a text box and from adding the text to exporting the document, the tool has made annotating PDFs easier than ever before.
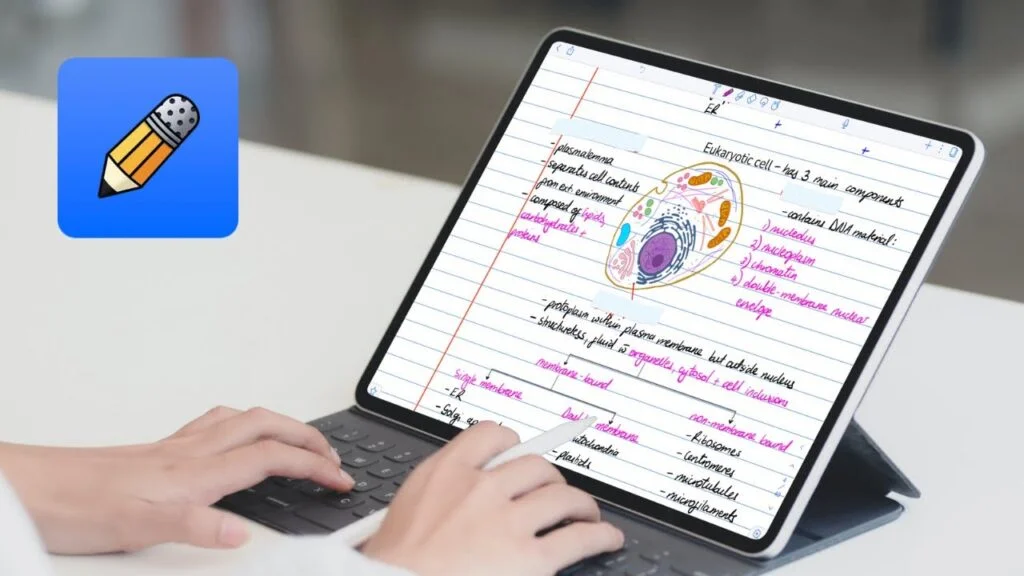
So, if you are wondering how to add text box in pdf, we will walk you through this step-by-step guide on how to create text box in notability. If you want to learn, give this post a read.
Part 1. Add Text and Create Text Box in Notability
Notability has made adding text or creating text boxes easier than ever. Either you can tap directly on the note screen to start typing, or you can create a text box that you can move anywhere on the screen. If you are wondering how to add text to pdf or you want to learn how to add text box in pdf, we have you covered.
From importing PDFs to adding text boxes and exporting the annotated files, this step-by-step guide will walk you through all the necessary steps you need to take in order to add text and create text boxes in PDFs using Notability.
To do both, you need to follow these steps:
Step 1: Open Notability
The first step is to launch a Notability app on your iPad or iPhone. It is important to know that this note-taking app does not currently support Mac's touch bar.
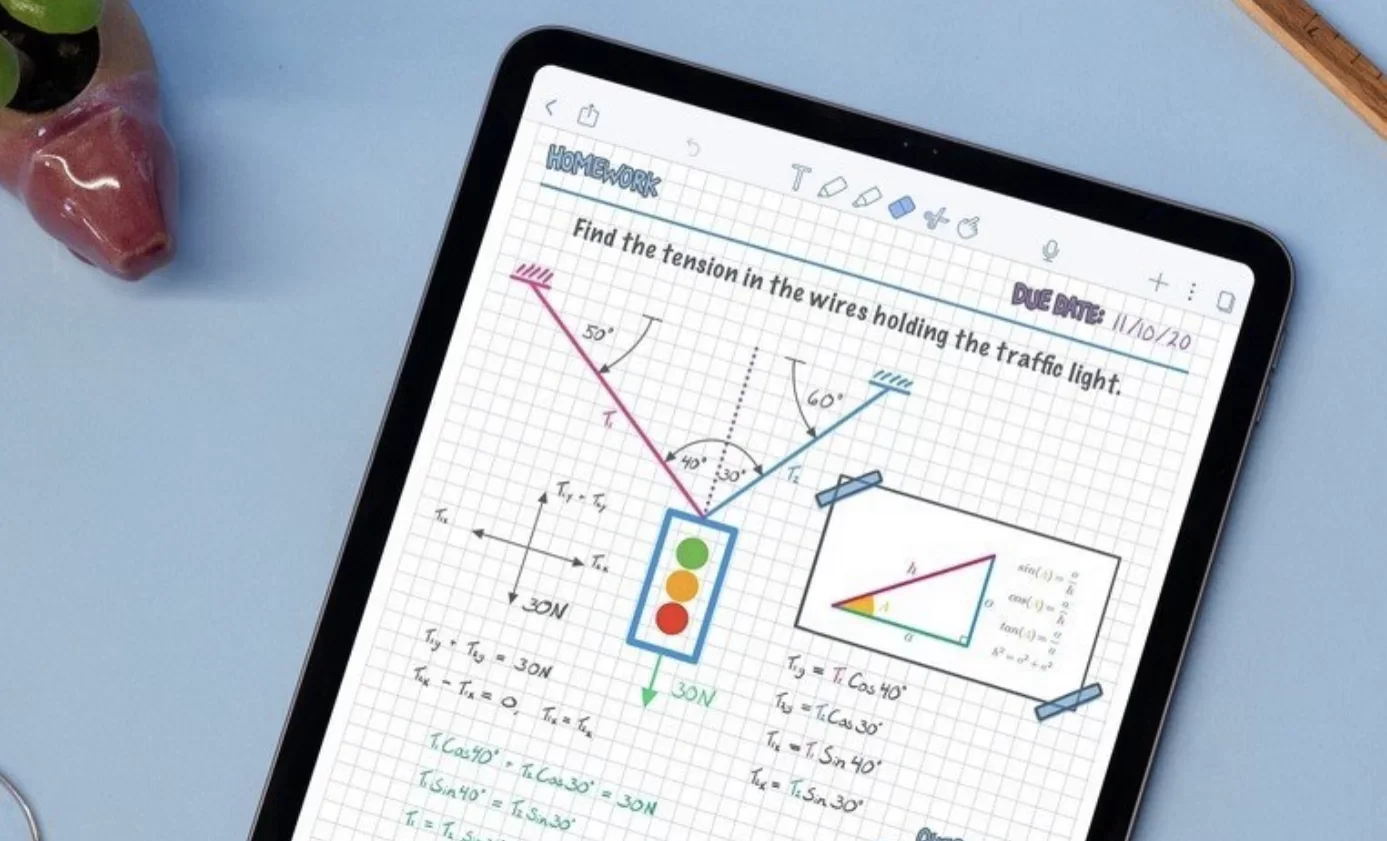
However, make sure to have the latest version of the application installed to get access to all the updated and new features Notability has to offer.
Also, if you haven’t used the application before, it is recommended that you familiarize yourself with all the features, tools, and text tools before using it.
Step 2: Import the PDF into Notability
After opening the application, the next step is to import the PDF document you want to work with.
To do so, navigate to the top of the screen and click on the "+" button or the Import option.
After clicking on the Import option, you will need to select the location from which you want to import your PDF file. You can import your digital document from your device storage, iCloud storage, Google Drive, Dropbox, or even through email attachments.
This makes importing files from any location easier and convinient.
Once you have chosen the location of the file to import from, select the file you want to work with, and it will open in Notability as a new note.
Step 3: Select the Text Tool to Type the Text
After opening the PDF as a new note in the Notability, you can start adding text.
To do so, you need to navigate to the top of the screen and select the Text Tool from the toolbar, which is represented by a "T" icon.
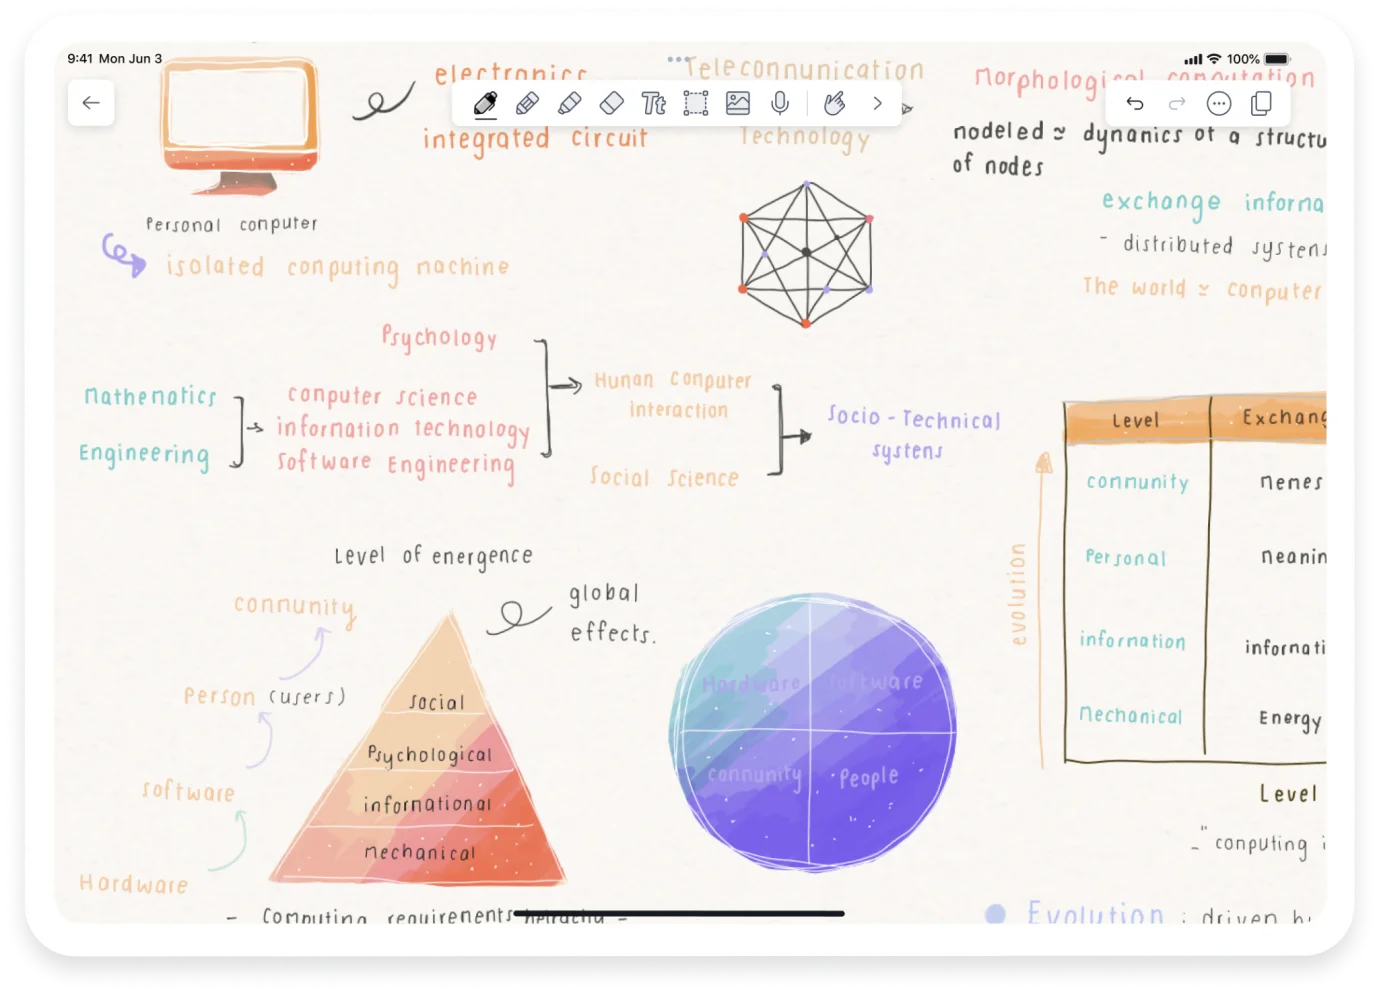
This tool is specifically designed to add and edit text to your Note, which is a PDF in this case.
After selecting the “Text Tool,” you are all ready to add text anywhere on the Note.
For this, scroll down to the part of the document where you want to add the text.
You can tap on the specific area of your Note or PDF in this case.
So, how to fill a text box? With Notability, you can add text to the image, within the blank space, or anywhere you need to add text or additional information.
Step 4: Draw or Create Text Box in Notability
If you are wondering how to add textbox, the steps are reasonably straightforward.
To draw a Text Box or add text field to pdf, you will need to select the Text Tool twice.
Next, you want to click on the “gear” icon on the text toolbar that appears on the screen.
You can enable the “Quick Text Boxes” option. Next, you want to select the “Draw Text Boxes” option so you can diagonally draw the Text Box on the note.
Step 5: Adjust and Resize the Text Box
Once the text and text box are added, you can adjust and resize the Text Box according to your requirements.
To move the Text Box, tap and hold its edges and drag it to place it in the desired location of the document.
Now, when it comes to adjusting the size of the Text Box, you can simply tap the small circular handles from the corners of the Text Box and drag it.
Whether you want to increase the Text Box size or decrease it, by simply taping and dragging the corners, you can resize the Text Box to make it fit seamlessly in your PDF.
Once satisfied with the size and location of the text box, you can start typing directly on the Note.
Step 6: Customize the Text Appearance
In additon to adjusting the location and size of the Text Box, you can also customize the text within it so that it appears the way you want.
You can customize font size, font style, font color, and text alignment.
To change the font size, you can use the size slider, or you can adjust the size of the font by selecting the font sizes.
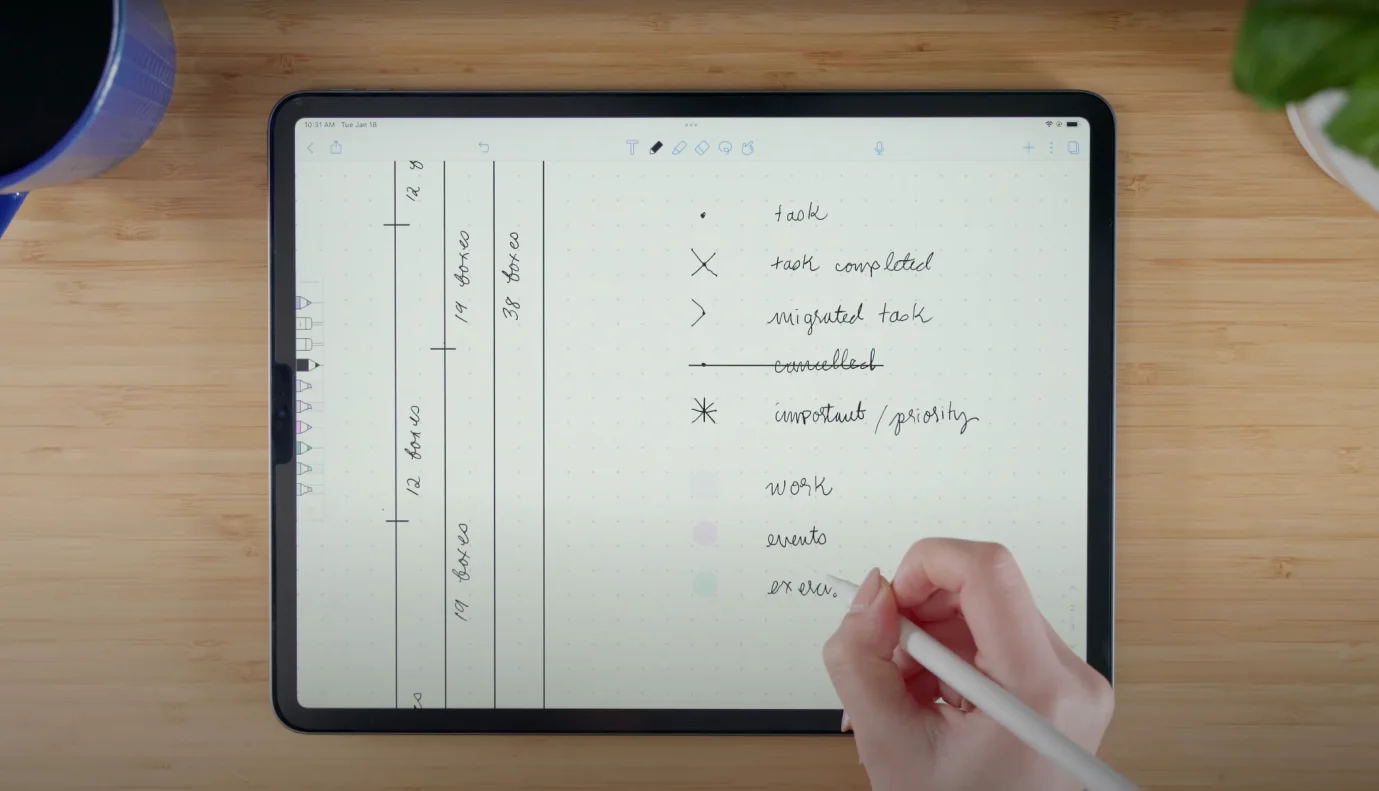
To emphasize the headings, you can use larger text and you can use smaller text to add notes within the document.
To adjust the font style, you simply need to tap on the font options to adjust the style according to your document.
There are various font styles to choose from, including Arial, Times New Roman, Calibri, and more.
Now, to change the font color, choose the color from the color palette by simply tapping on it. Make sure to choose one that goes well with the rest of the document to improve readability.
When it comes to adjusting the text alignment, the options are the same: you can align your text to left, right, or center based on how you want your text to appear.
These customizations allow you to annotate your document according to your requirements to enhance the visual effectiveness of your notes.
Step 7: Review the Changes
Before saving or exporting your document, make sure to review the changes and annotations you have added to make sure you have achieved the desired result.
If you are satisfied with all the annotations, you can simply save and export the document. If not, you can repeat the steps and get the desired results.
Step 8: Save Your Work and Export Your PDF
While Notability automatically saves your work, it is still a good idea to export the annotated document for sharing and storage purposes.
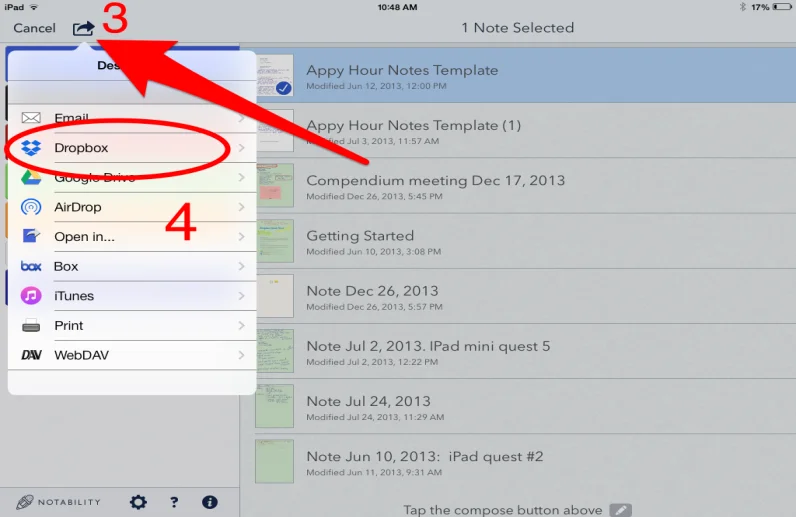
To share the document, navigate to the top right corner of the screen. From the options, you need to click on the Share or Export button.
Before exporting your document, you can choose the format in which you want to share it.
However, it is recommended to keep the PDF format as it is the best way to maintain your annotations.
Next, you want to choose how you want to save or share the document. You can choose from sharing it through email, uploading it on Google Drive, iCloud, Dropbox, etc, or saving it directly to your local device storage.
By following these simple steps, you can successfully add text and insert text box in pdf in Notability.
However, if you are not an Apple user, there are other alternatives for adding text to pdf and creating text boxes.
Part 2. Alternatives to Notability for Window Users
One of the very few cons of Notability is that it is not available to Windows and Android users. If you are an Apple user, Notability is one of the best options for taking notes and annotating PDFs, but if you are looking for alternatives, look no further:
Afirstsoft PDF
Afirstsoft PDF is one of the most powerful PDF editing tools available on the market. With its user-centric approach and AI-driven features, the PDF editor is great for creating, editing, annotating, reading, and organizing digital documents. One of the major reasons why you should use this PDF editor is that you can download its application for free on your Windows, Mac, and iOS. If you want to use it online, you can access all the features on the web application as well. Moreover, you can access advanced features by signing up for the paid version of the application.
MicEvernoterosoft OneNote
OneNote is another popular note-taking application that is known for its extensive features and PDF editing capabilities. Unlike Notability, this application supports cross-device synchronization across Windows, Android, Mac, and iOS. It is important to know that OneNote is not specifically designed as a PDF editor. Still, it does allow you to insert PDFs into notebooks and annotate them according to your requirements. The app is best known as a note-taking application and can be seamlessly integrated into your other Microsoft Office products.
Evernote
Evernote is the most sought-after note-taking app that comes with a comprehensive range of editing tools and collaboration features. One of the reasons why it is a great alternative to Notability is that it supports synchronization across multiple devices, including Android and Windows. Using this app, you can create to-do lists, organize notes, and collaborate with other team members for effective collaboration. For those people who are looking for an all-in-one organizational tool for taking notes and managing tasks and projects, Evernote is an excellent alternative.
Part 3. Benefits of Choosing Notability for Annotating PDFs
Notability is the preferred note-taking application for students, business professionals, educators, and creative professionals, and for good reasons. Let’s discuss why it is probably the best option for you as well.
- User-friendly Interface: The intuitive interface of Notability gives its users a seamless note-taking experience. With its simple design and easy-to-navigate features, people usually prefer this app over other popular options. This makes it an ideal option for people looking for a clean, modern, and clutter-free interface.
- Ideal for Apple Users:While many will see this as a disadvantage, Apple users, on the other hand, find Notability a perfect note-taking app as this is specifically designed for Apple devices only. If you are an Apple user, Notability might be an ideal note-taking and managing solution for you.
- Multi-Device Synchronization:Only limited to Apple devices, you can sync the application across all your Apple devices by syncing with iCloud, including iPad and iPhone. This means you can sync your notes, documents, and data across all your Apple devices.
- Better Note Management: The app allows you to manage your notes effectively, import PDFs, annotate PDFs, export documents, and categorize documents, improving overall productivity and efficiency.
- Audio Syncing into Notes:In addition to adding text to the Notes, Notability allows you to sync audion notes while annotating your documents. So, if you want to record lectures, meetings, or random ideas, Notability has you covered.
Part 4. To Summarize
Notability is an exceptional note-taking and organizational app that is a perfect blend of usability and functionality. Whether you want to organize documents, annotate PDFs, or write down thoughts, Notability is the ideal app for you.
One of the most promising features of this app is its ability to create boxes within the documents. Mastering the art of creating text boxes, adding texts, and customizing text will allow you to annotate your documents effectively, improving oveall workflow. All you need to do is follow all the steps mentioned above in the guide. By doing so, you will be able to work on projects, notes, and all the documents in a clean and organized way.

