User Guide of Afirstsoft PDF
Get detailed information about Afirstsoft PDF step by step.
Print PDF for iOS
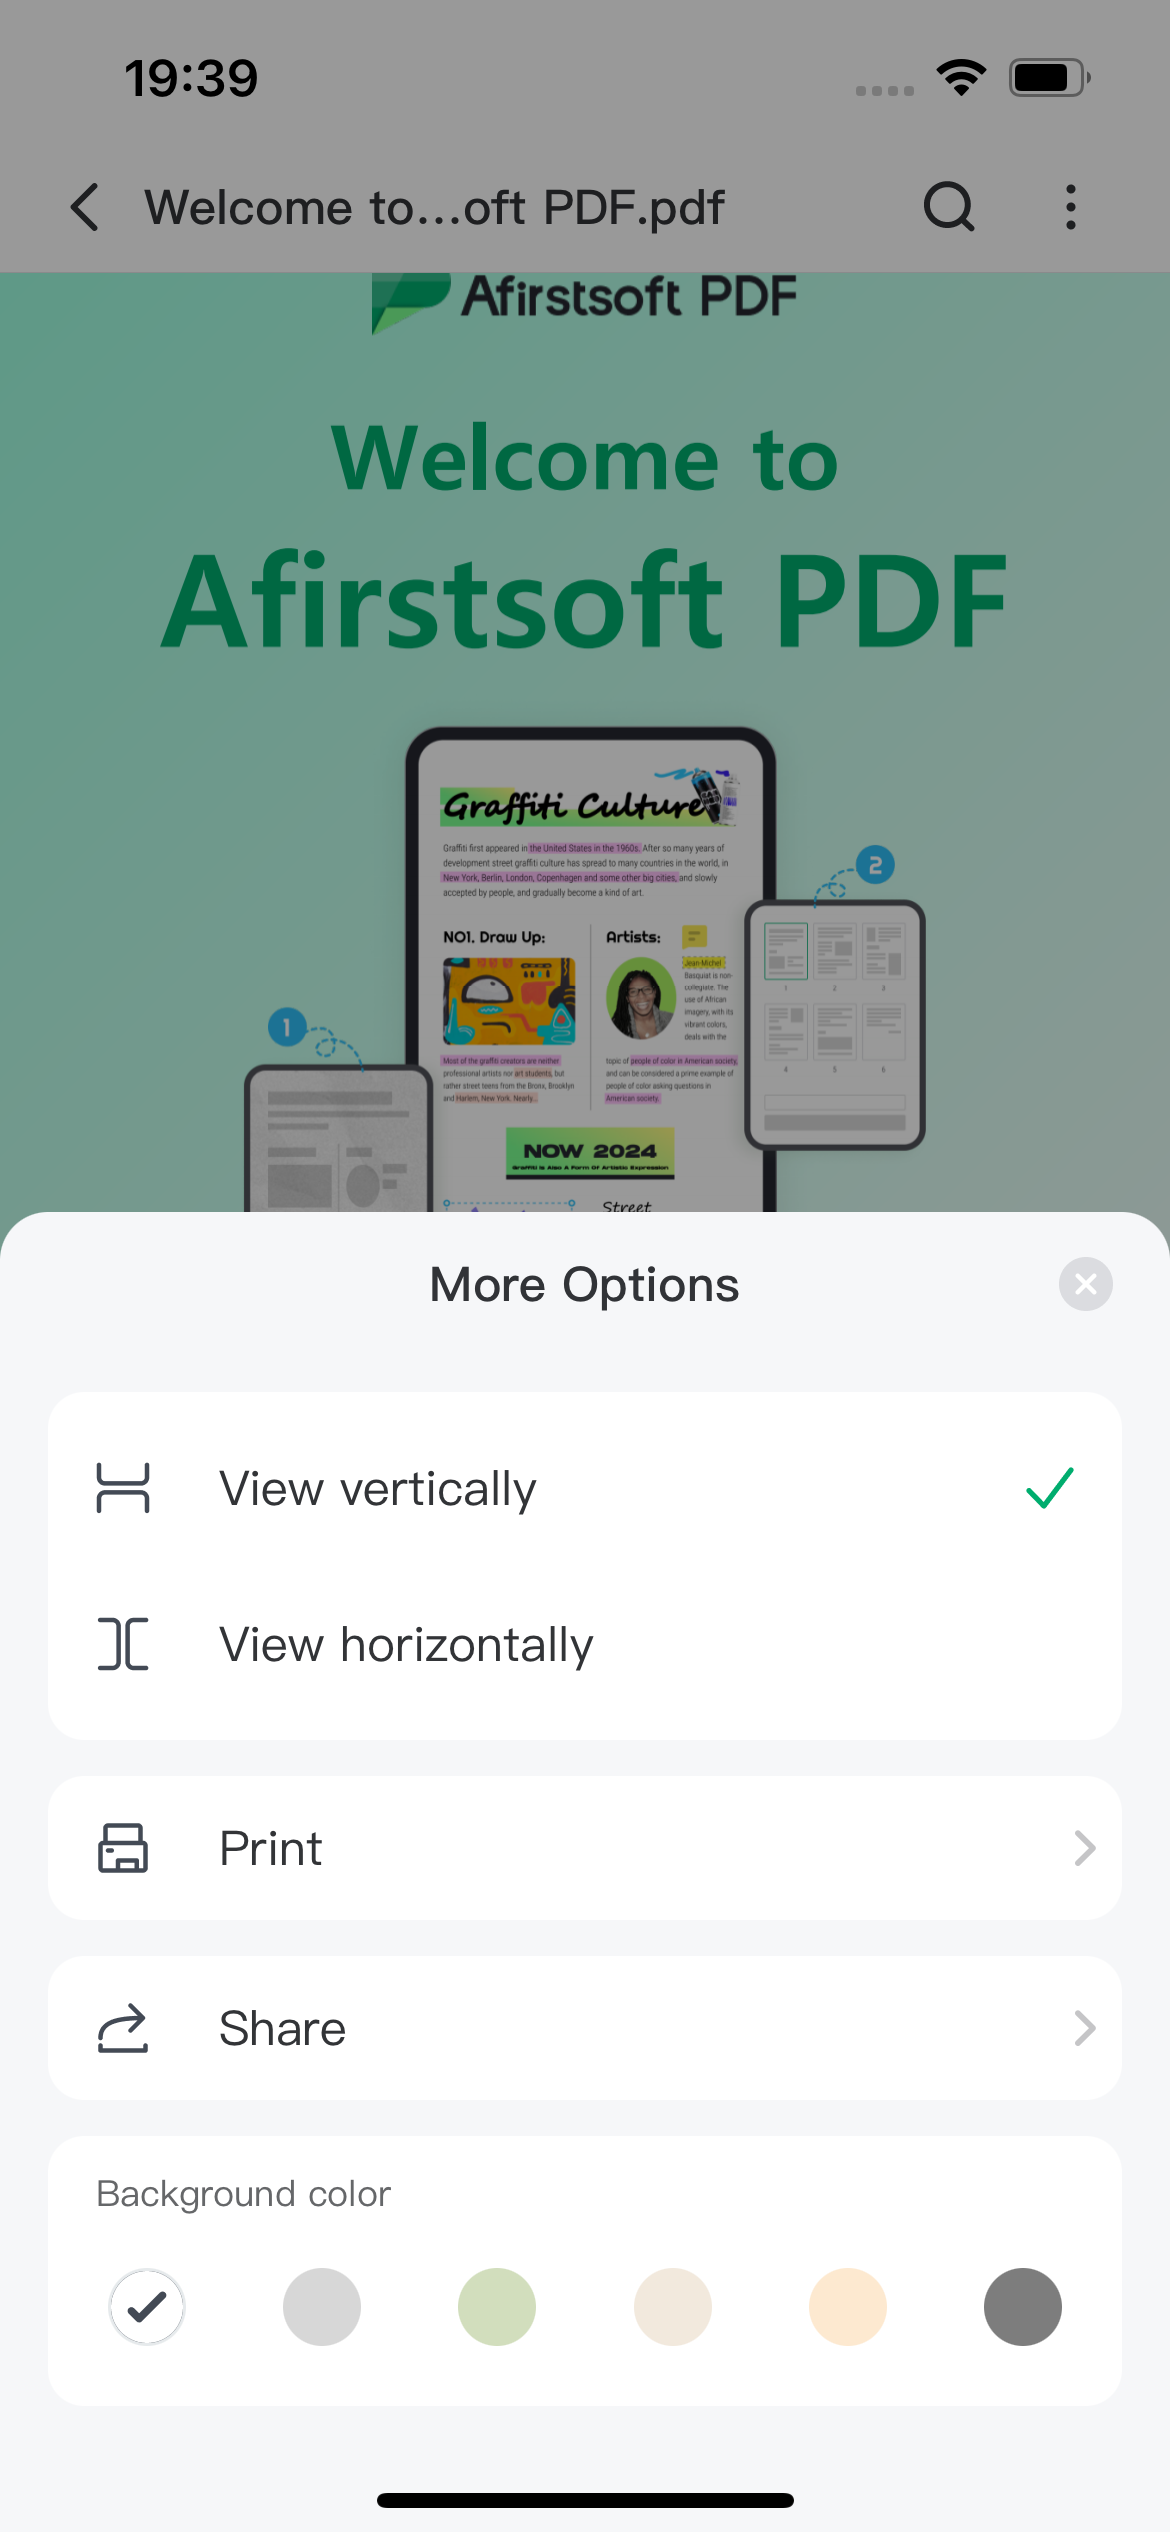
To print a PDF document using Afirstsoft PDF on iOS, you must go to the print menu. This can be done by either clicking on the printer icon at the top left of the interface or by going to the ‘File’ drop-down menu and selecting print from the print settings menu, the following can be adjusted to make changes to the printing:
Step 1
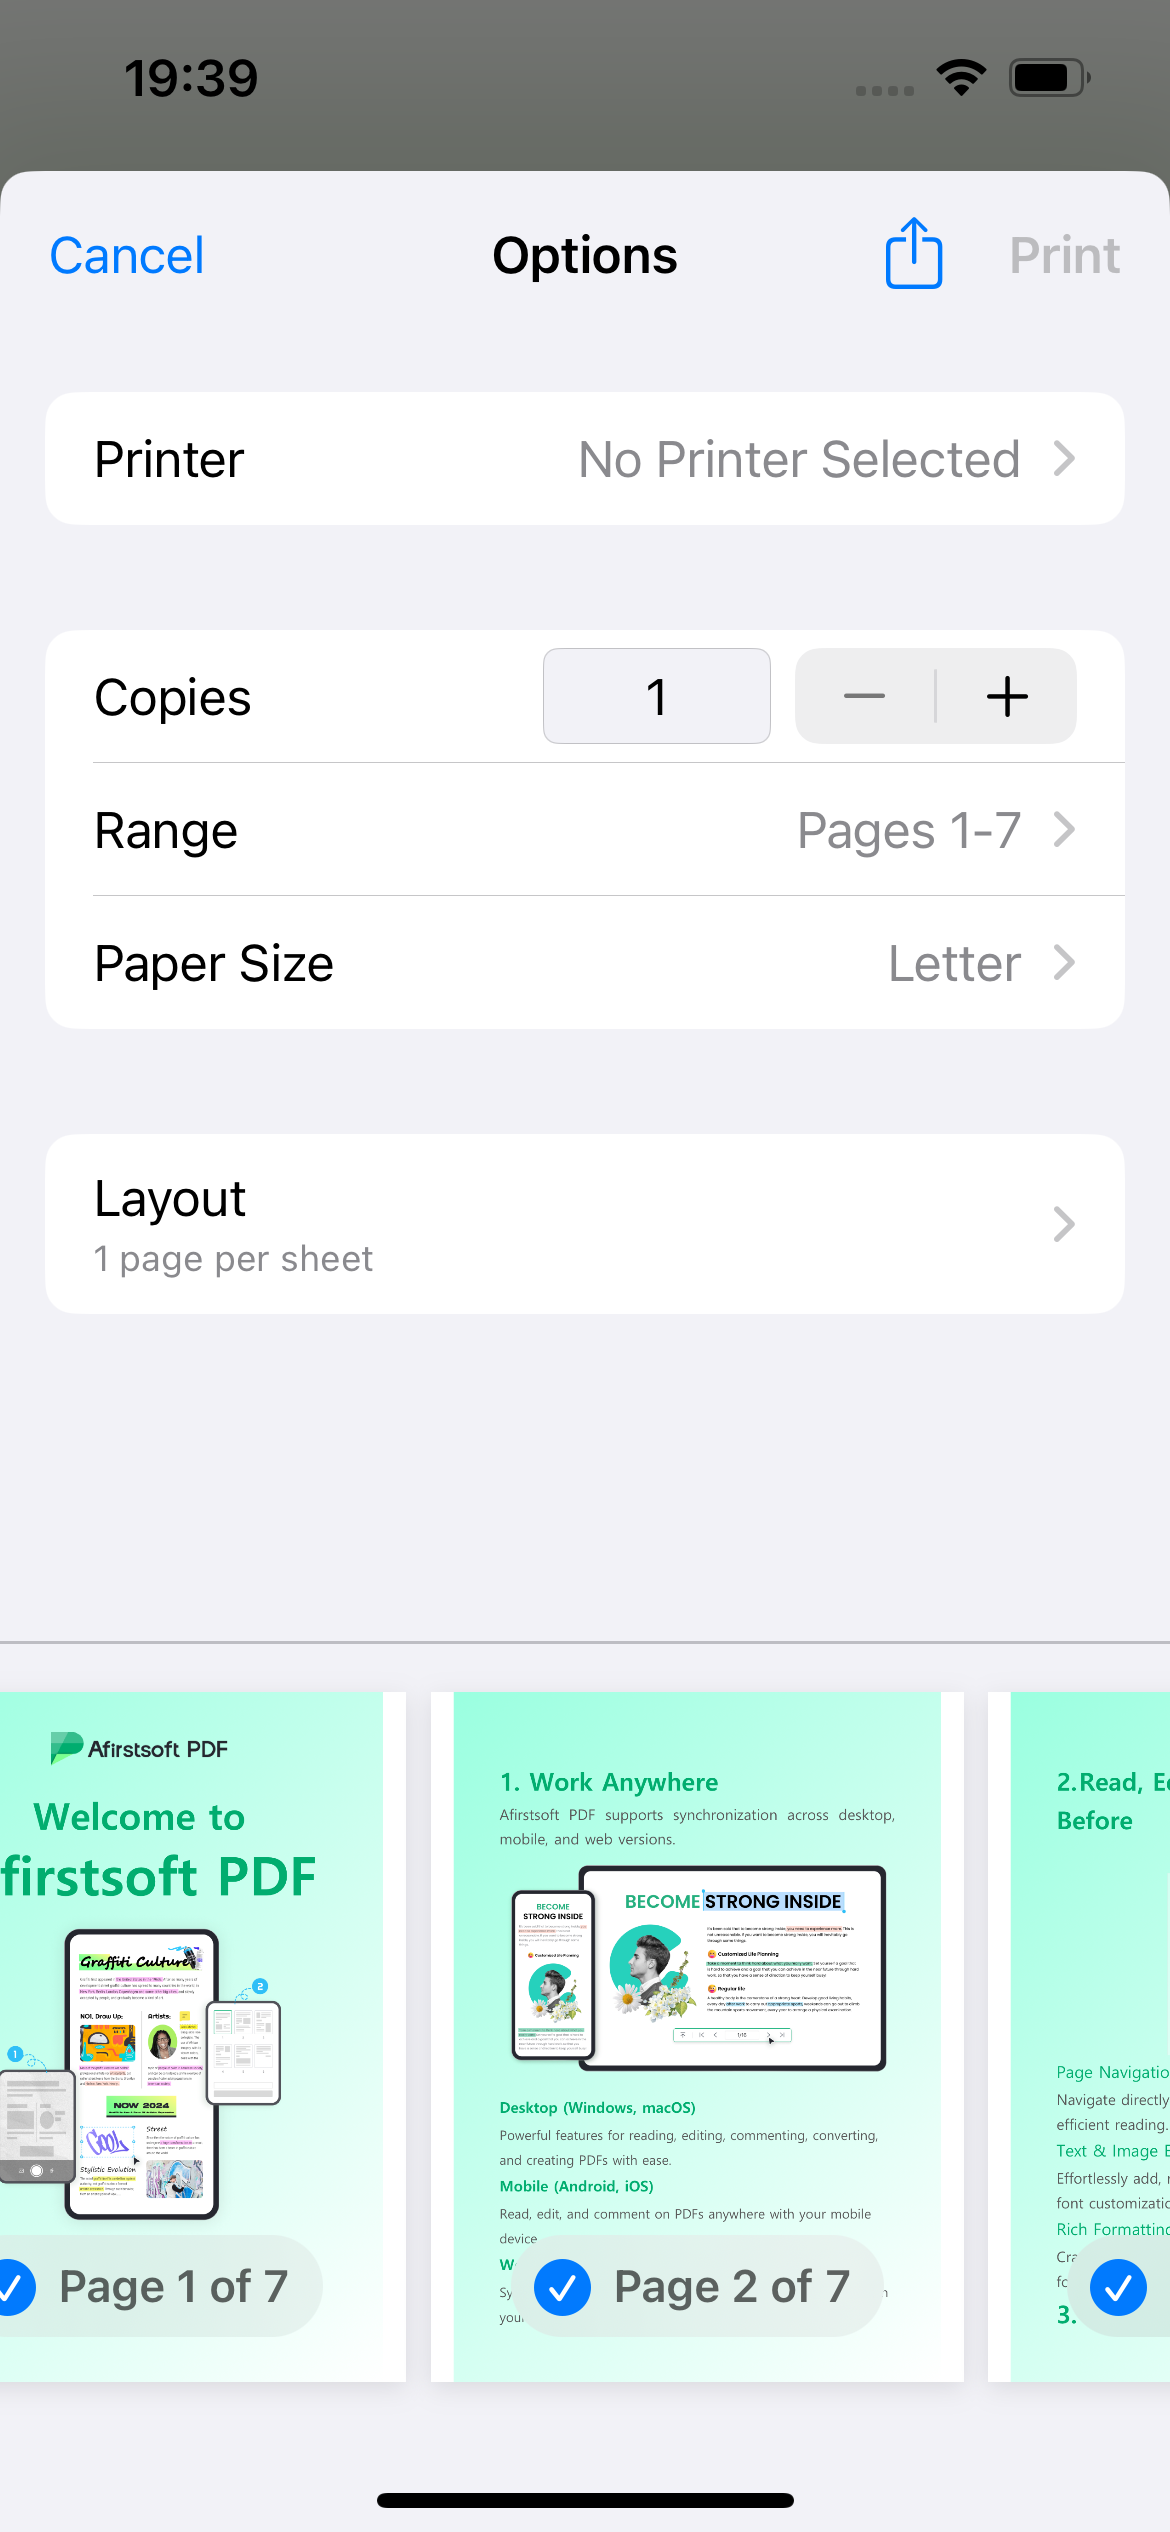
Start by selecting the required printer from the list of printers that are available with the iOS device. You can then choose to print the entire document, only certain pages or only a few pages. Also, you can select the option of color printing or black and white printing.
Step 2
Subsequently, you can change the page settings to the desired format and style. This includes the choice of the page size like Letter, Legal, A3, or A4 and whether the page should be oriented in the portrait or landscape way. You can also indicate the number of sets that you want to print.
Step 3
Afirst soft PDF has other options that you can use to control the print and get the right result that you want. Some options, such as “Fit,” allow the document to be scaled to the size within the margins of the page. If you wish to have the document printed at a particular size, choose “Fit to Page,” “Fit to Actual Size,” or “Custom Scale” to type in the scale. The “Auto Rotate” option rotates the document like the selected option, while the “Auto Center” option centers the document on the page.
Step 4
Last but not the least, you can print the annotations, content, and/or form data on the printouts. This feature enables you to print any comments or annotations that were made in the PDF from your iOS device.
Step 5
After you have set all the printing options, you can click the “Print” button to start the process of printing. This simple strategy enables the iOS users to be in a position to sort out their printing needs with the assistance of Afirstsoft PDF.